I am super ultra passionate about busy bags! In the coming weeks I actually have my first opportunity to participate in a Busy Bag Swap with Love Joleen and I’m so thrilled! I’ll be sharing more about that when I get my project together, but first: the basics for those who have not yet discovered the beauty of busy bags. They are a legitimate life saver!
What Is A Busy Bag? A busy bag (besides being super amazing and beautiful) is a CONTAINED activity (usually in a durable bag like a pencil pouch or a Ziploc) that teaches children a skill or concept without much guidance from an adult.
What ages? Through elementary school age is what I’ve seen, but that doesn’t mean that you can’t get creative with older kids (you’ll need to think outside of my examples) and throw together fun things for car trips, etc.
The best part is that a lot of this stuff, especially if you’re crafty, you’ll have lying around the house. You may have recently asked yourself, “When will I ever use these random scraps of fabric?!” Fear not! Here’s a GINORMOUS list of busy bags for you. Before anyone asks, yes, I’m the crazy person who went busy bag nutty and I’ve made every single one of these. It’s much easier to participate in a busy bag swap. Most of the materials I had on hand, but it still was quite a bit of work. Don’t feel like you need all of them! While I’ll let you know what age I think each bag is best for, keep in mind that you can tailor busy bags to fit the needs of your family.
NOTE: Rarely did I come up with these ideas, but I feel like I’ve seen them so many places that it’s hard to know exactly where I saw it first or where it came from. My apologies. Many of these I had even as a child and have just made them again from memory for my little one. Please just politely let me know if you feel like I’ve taken your idea. As always, I will absolutely provide links to the completely free printables that I have used in constructing these busy bags.
First up – paint chip color matching is a two birds one stone kind of bag – AKA, right up my alley. Great for color differentiation and tuning those fine motor skills. Addie like yanking the clips off and talking about the colors, but we haven’t mastered clothes pins yet. While this one can be introduced at 2.5 or so, I would recommend holding off until 3 and don’t be discouraged if their little hands have trouble with this one at first! 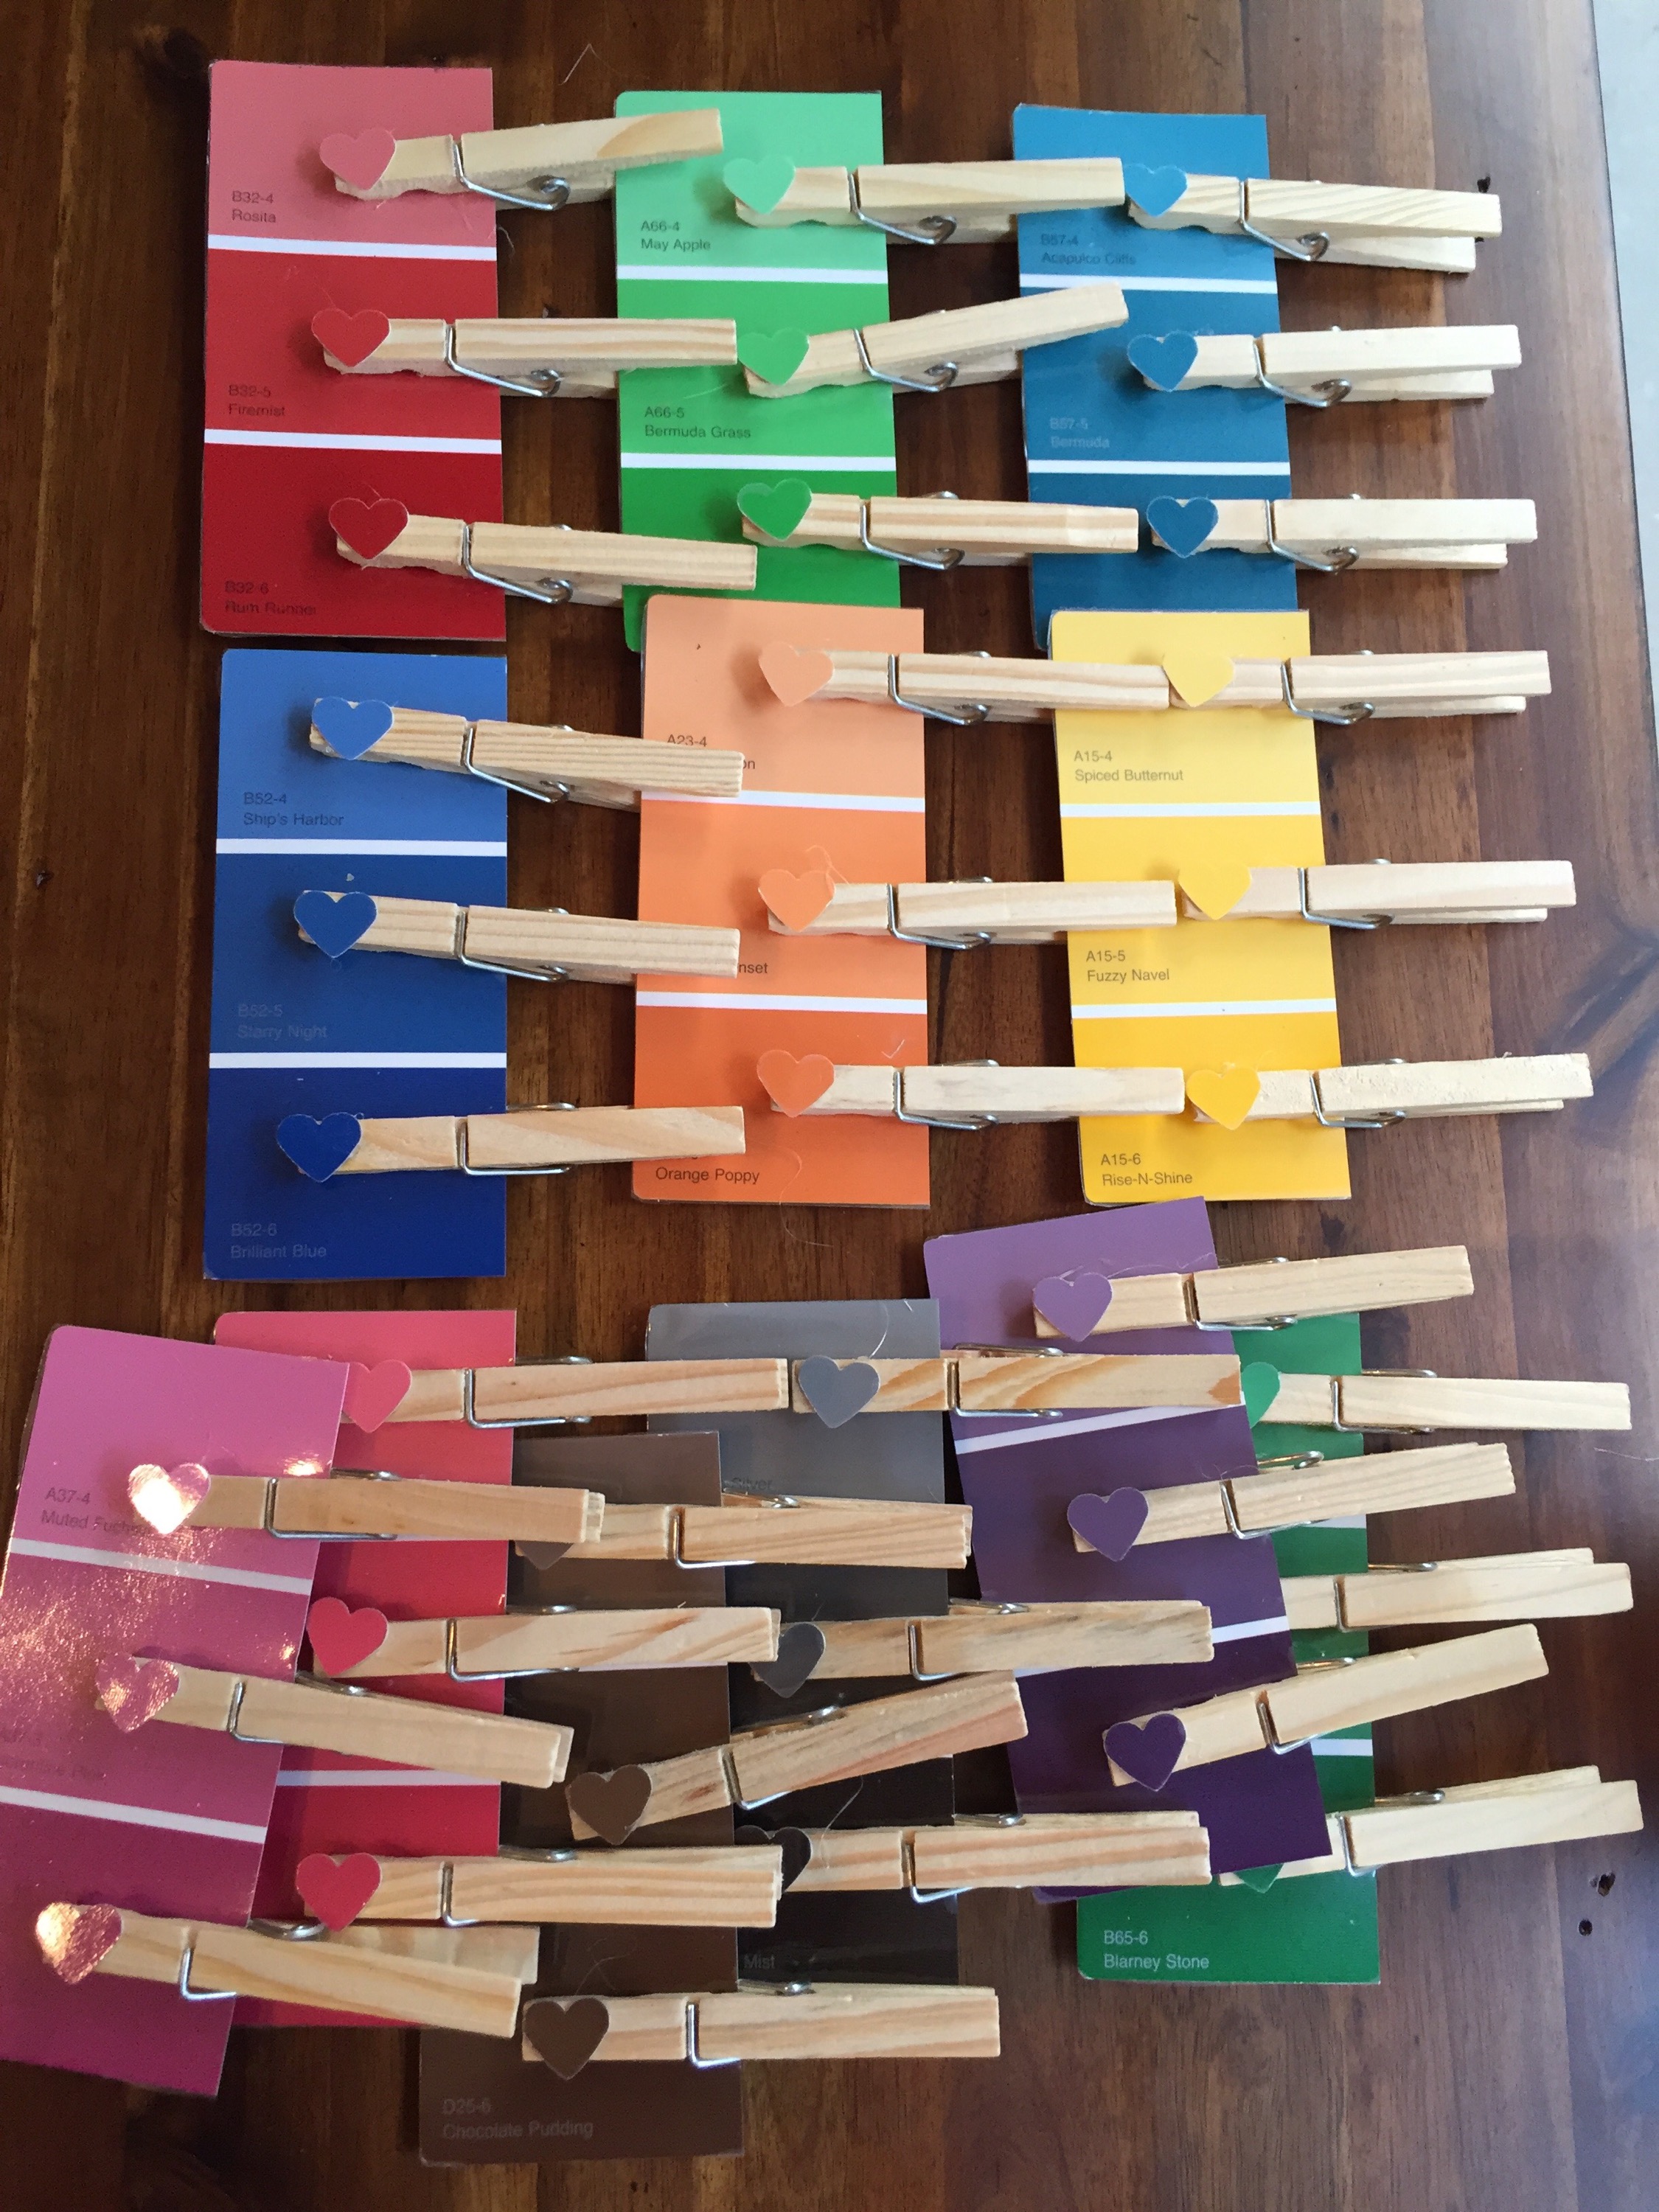
The number eggs are a favorite for Addie girl even though we haven’t exactly mastered counting! Grab some discounted eggs after Easter and something small to put in the eggs. We use beans now that she’s older, but we’ve also used pom poms. Both work great! Higher numbers are a little trickier with pom poms though!

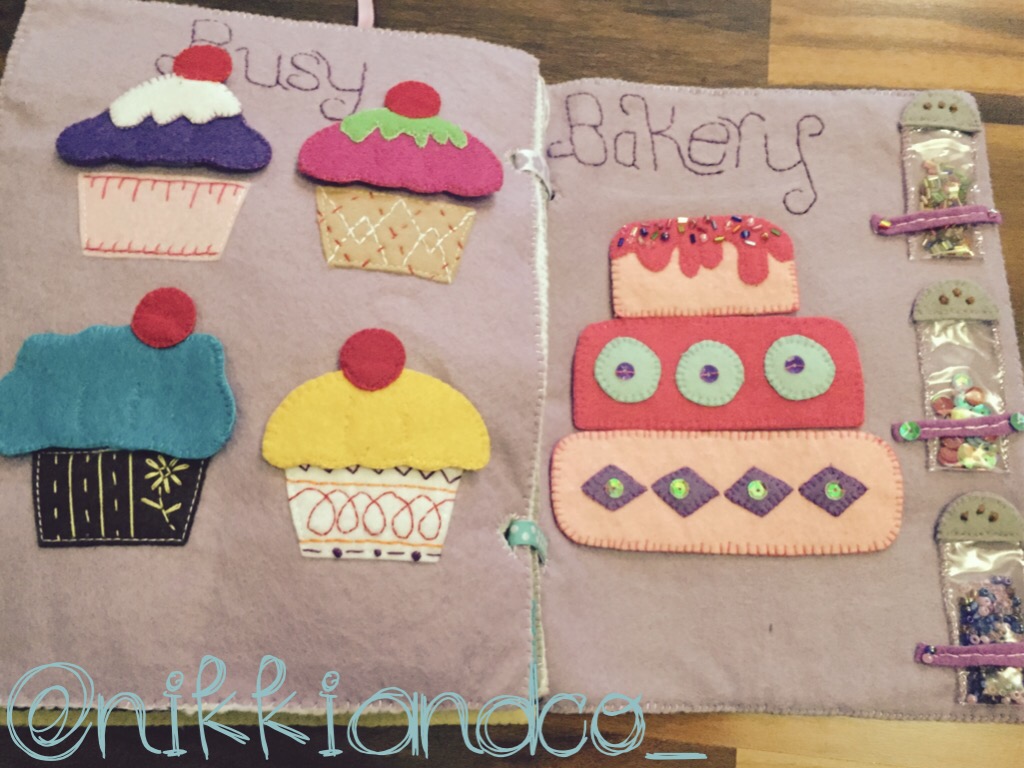
Alphabet Tiles – Age: 3+; this fun little printable and idea is from Unsolicited Advice. The link will take you to several other printables that you might find helpful. I used felt and puffy paint to make the alphabet tiles and the cards are printed on cardstock and laminated for durability. I have introduced this to Addie (2.5 years) but I only get out a few cards and tiles at one time because 26 would just be outrageous at this point!!

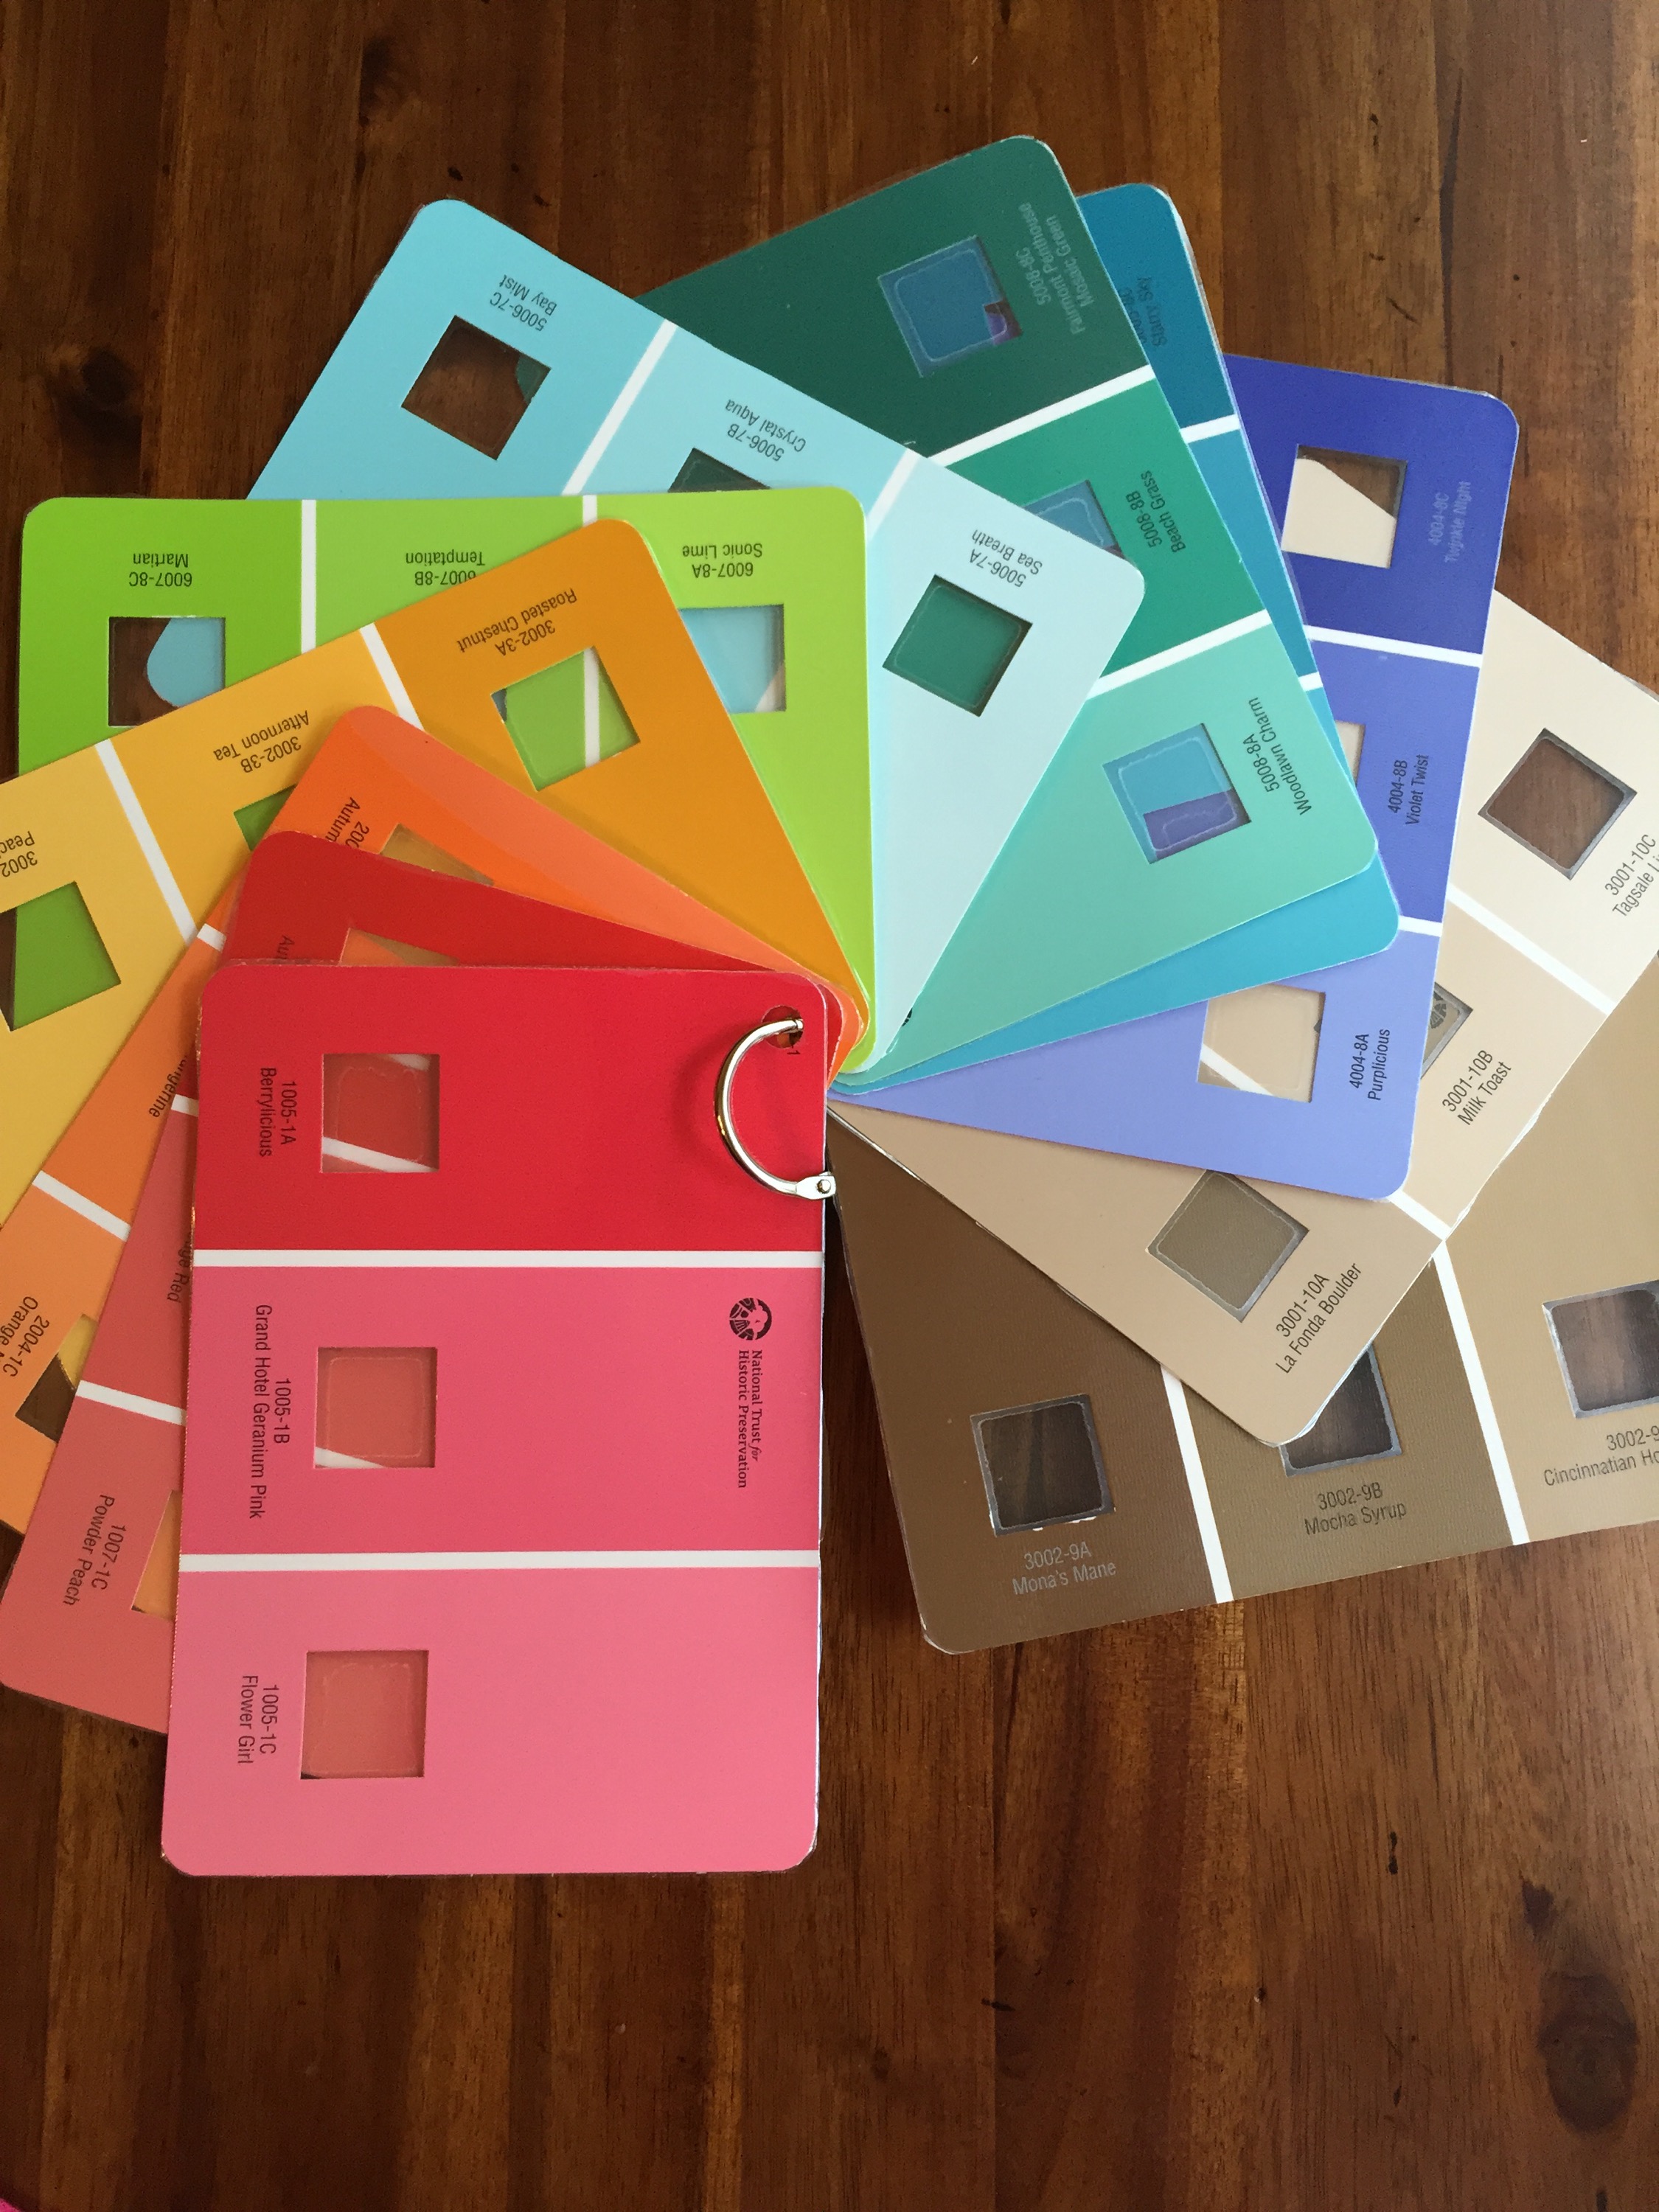
I have a huge love for paint chips when thinking up busy bags – they are free and so pretty! This one is so fun to take on a walk or to play inside on a cold/wet day. Find a binder ring, grab some paint chips with some kind of punch out (for fun!), laminate (for durability!) and get busy looking for lots of fun colors. For older kids, talk about shades and tints, how to make a color lighter and darker, or even challenge them to come up with fun color names like the ones on paint chip cards!
Shape Puzzles – this is great for 2 and up. I drew out some puzzles, laminated them, and threw in some foam blocks that I found in the Target dollar bin!

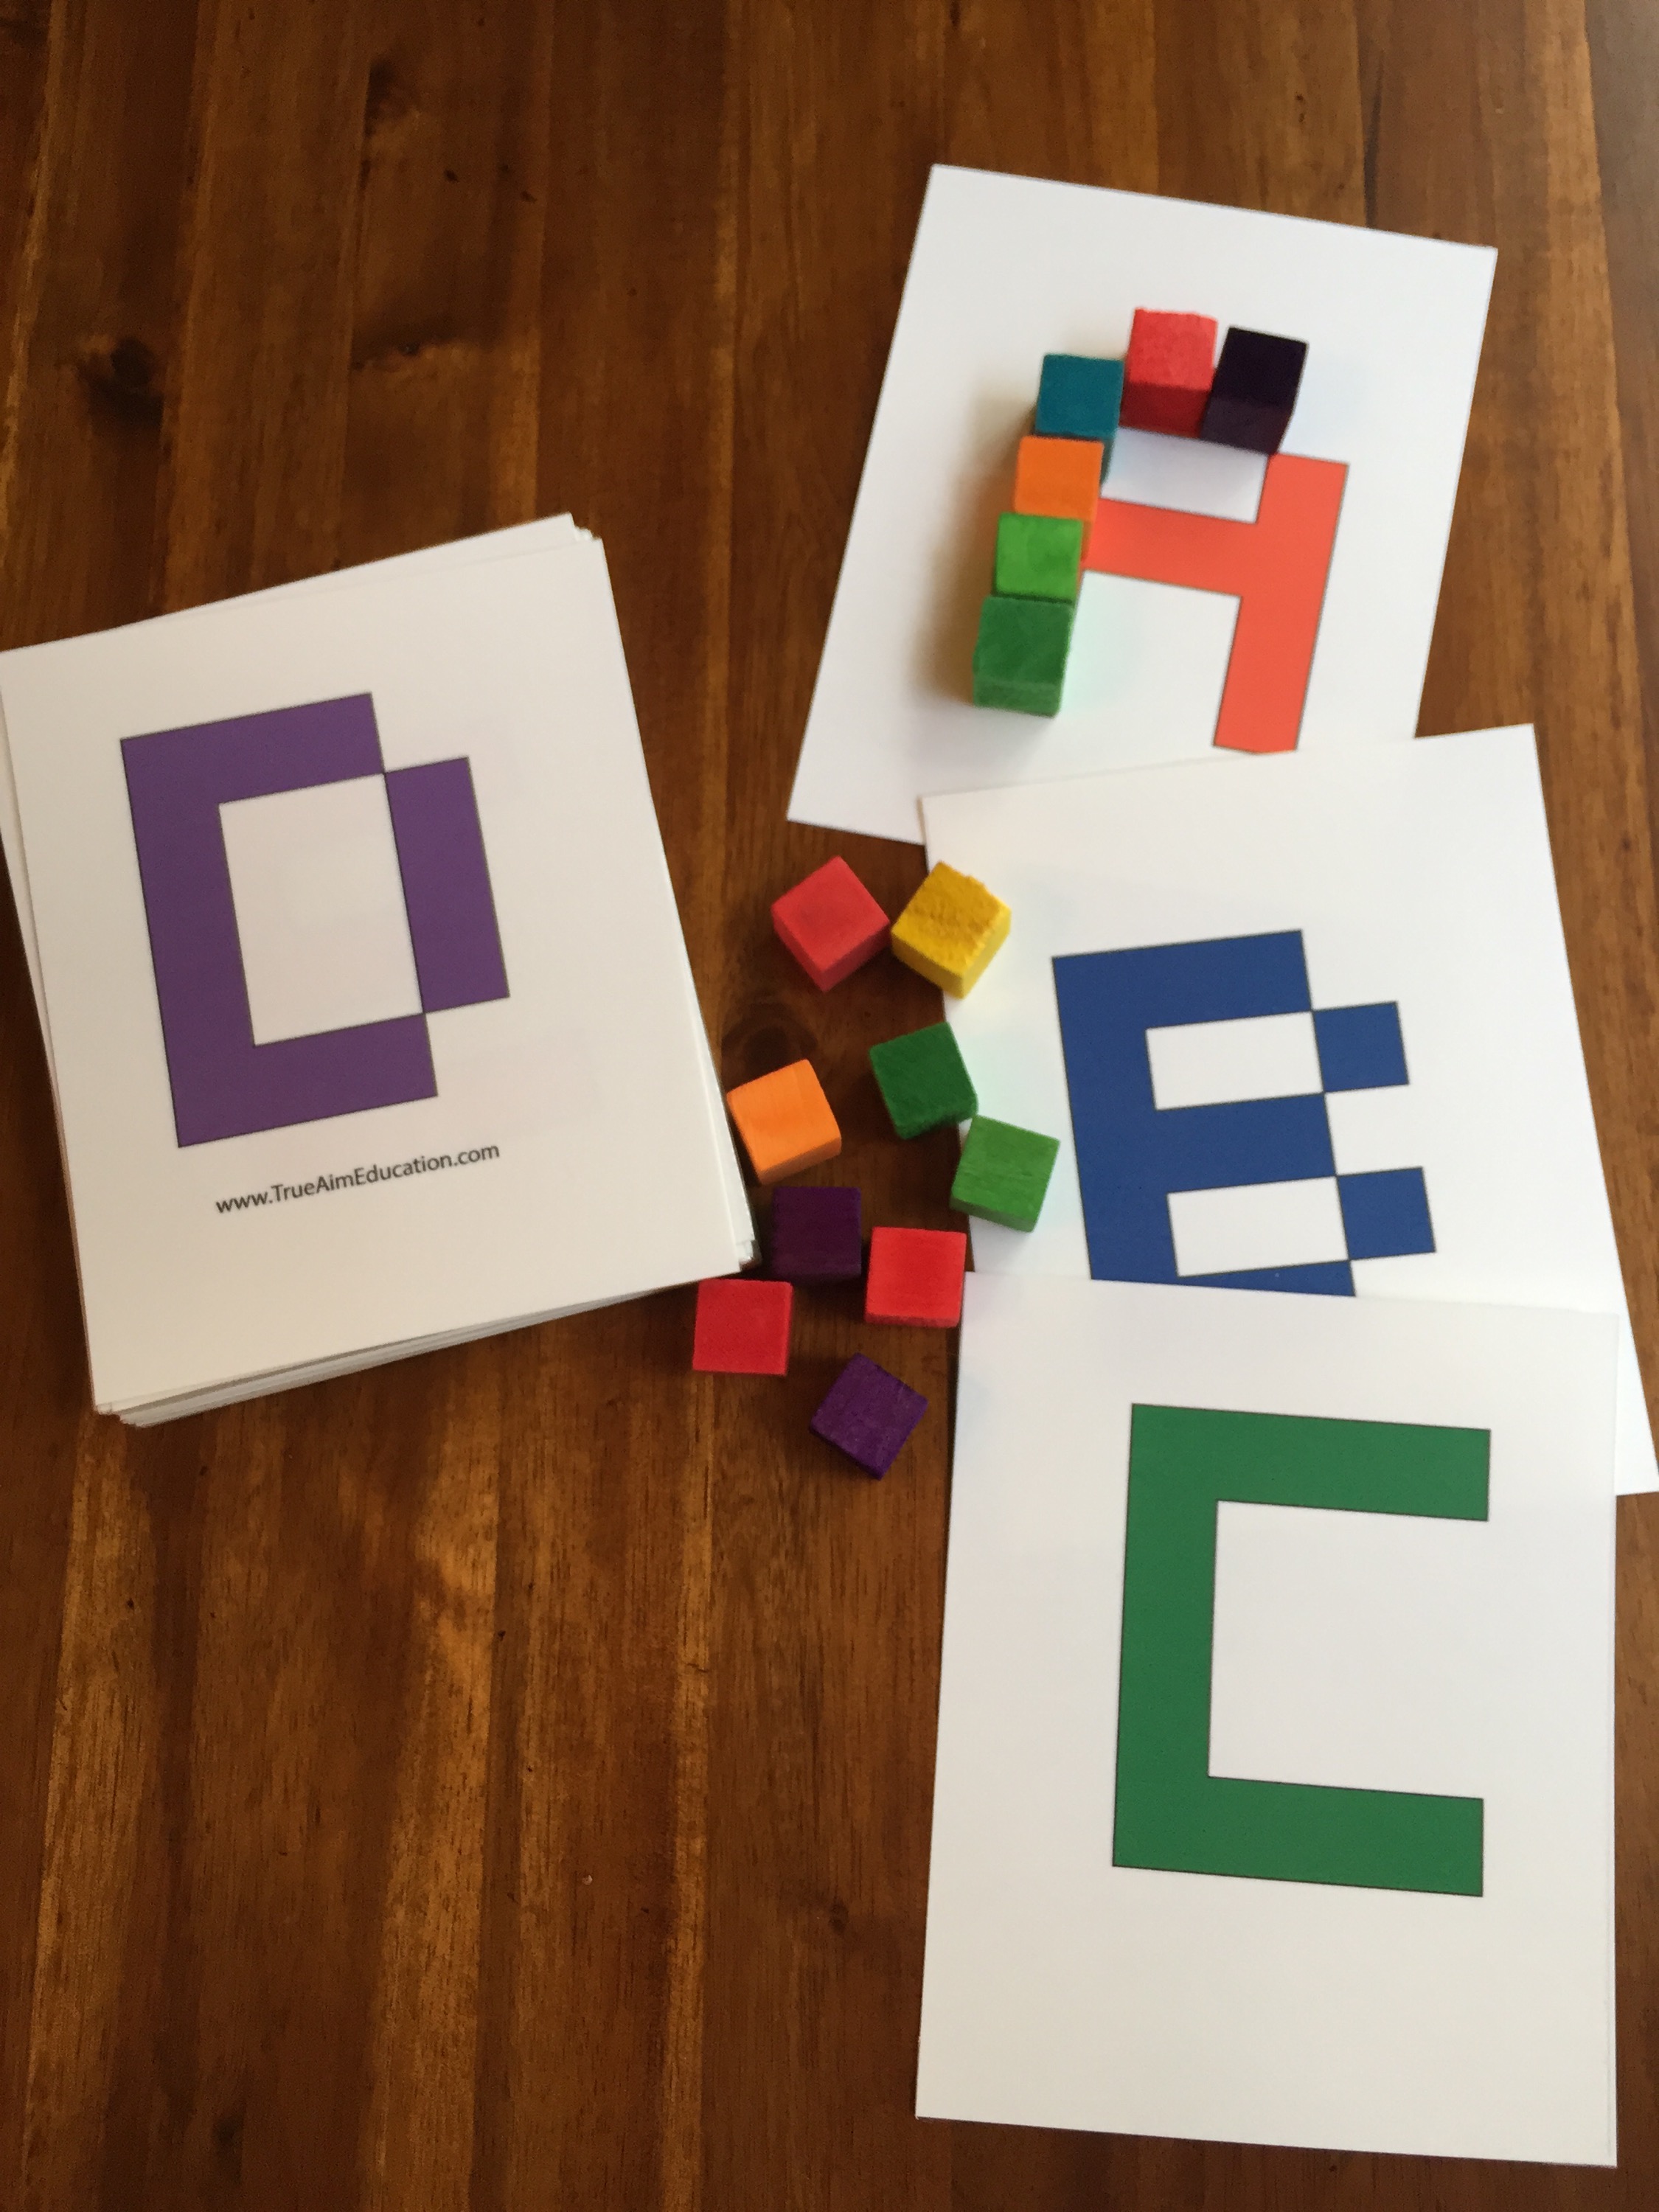
Pattern Cards – this is good for preschoolers. I found these little wooden blocks and some pattern cards from True Aim Education. We haven’t done this one yet, but it will be great for a tot tray or a long trip. I like that the cards have different skill levels.

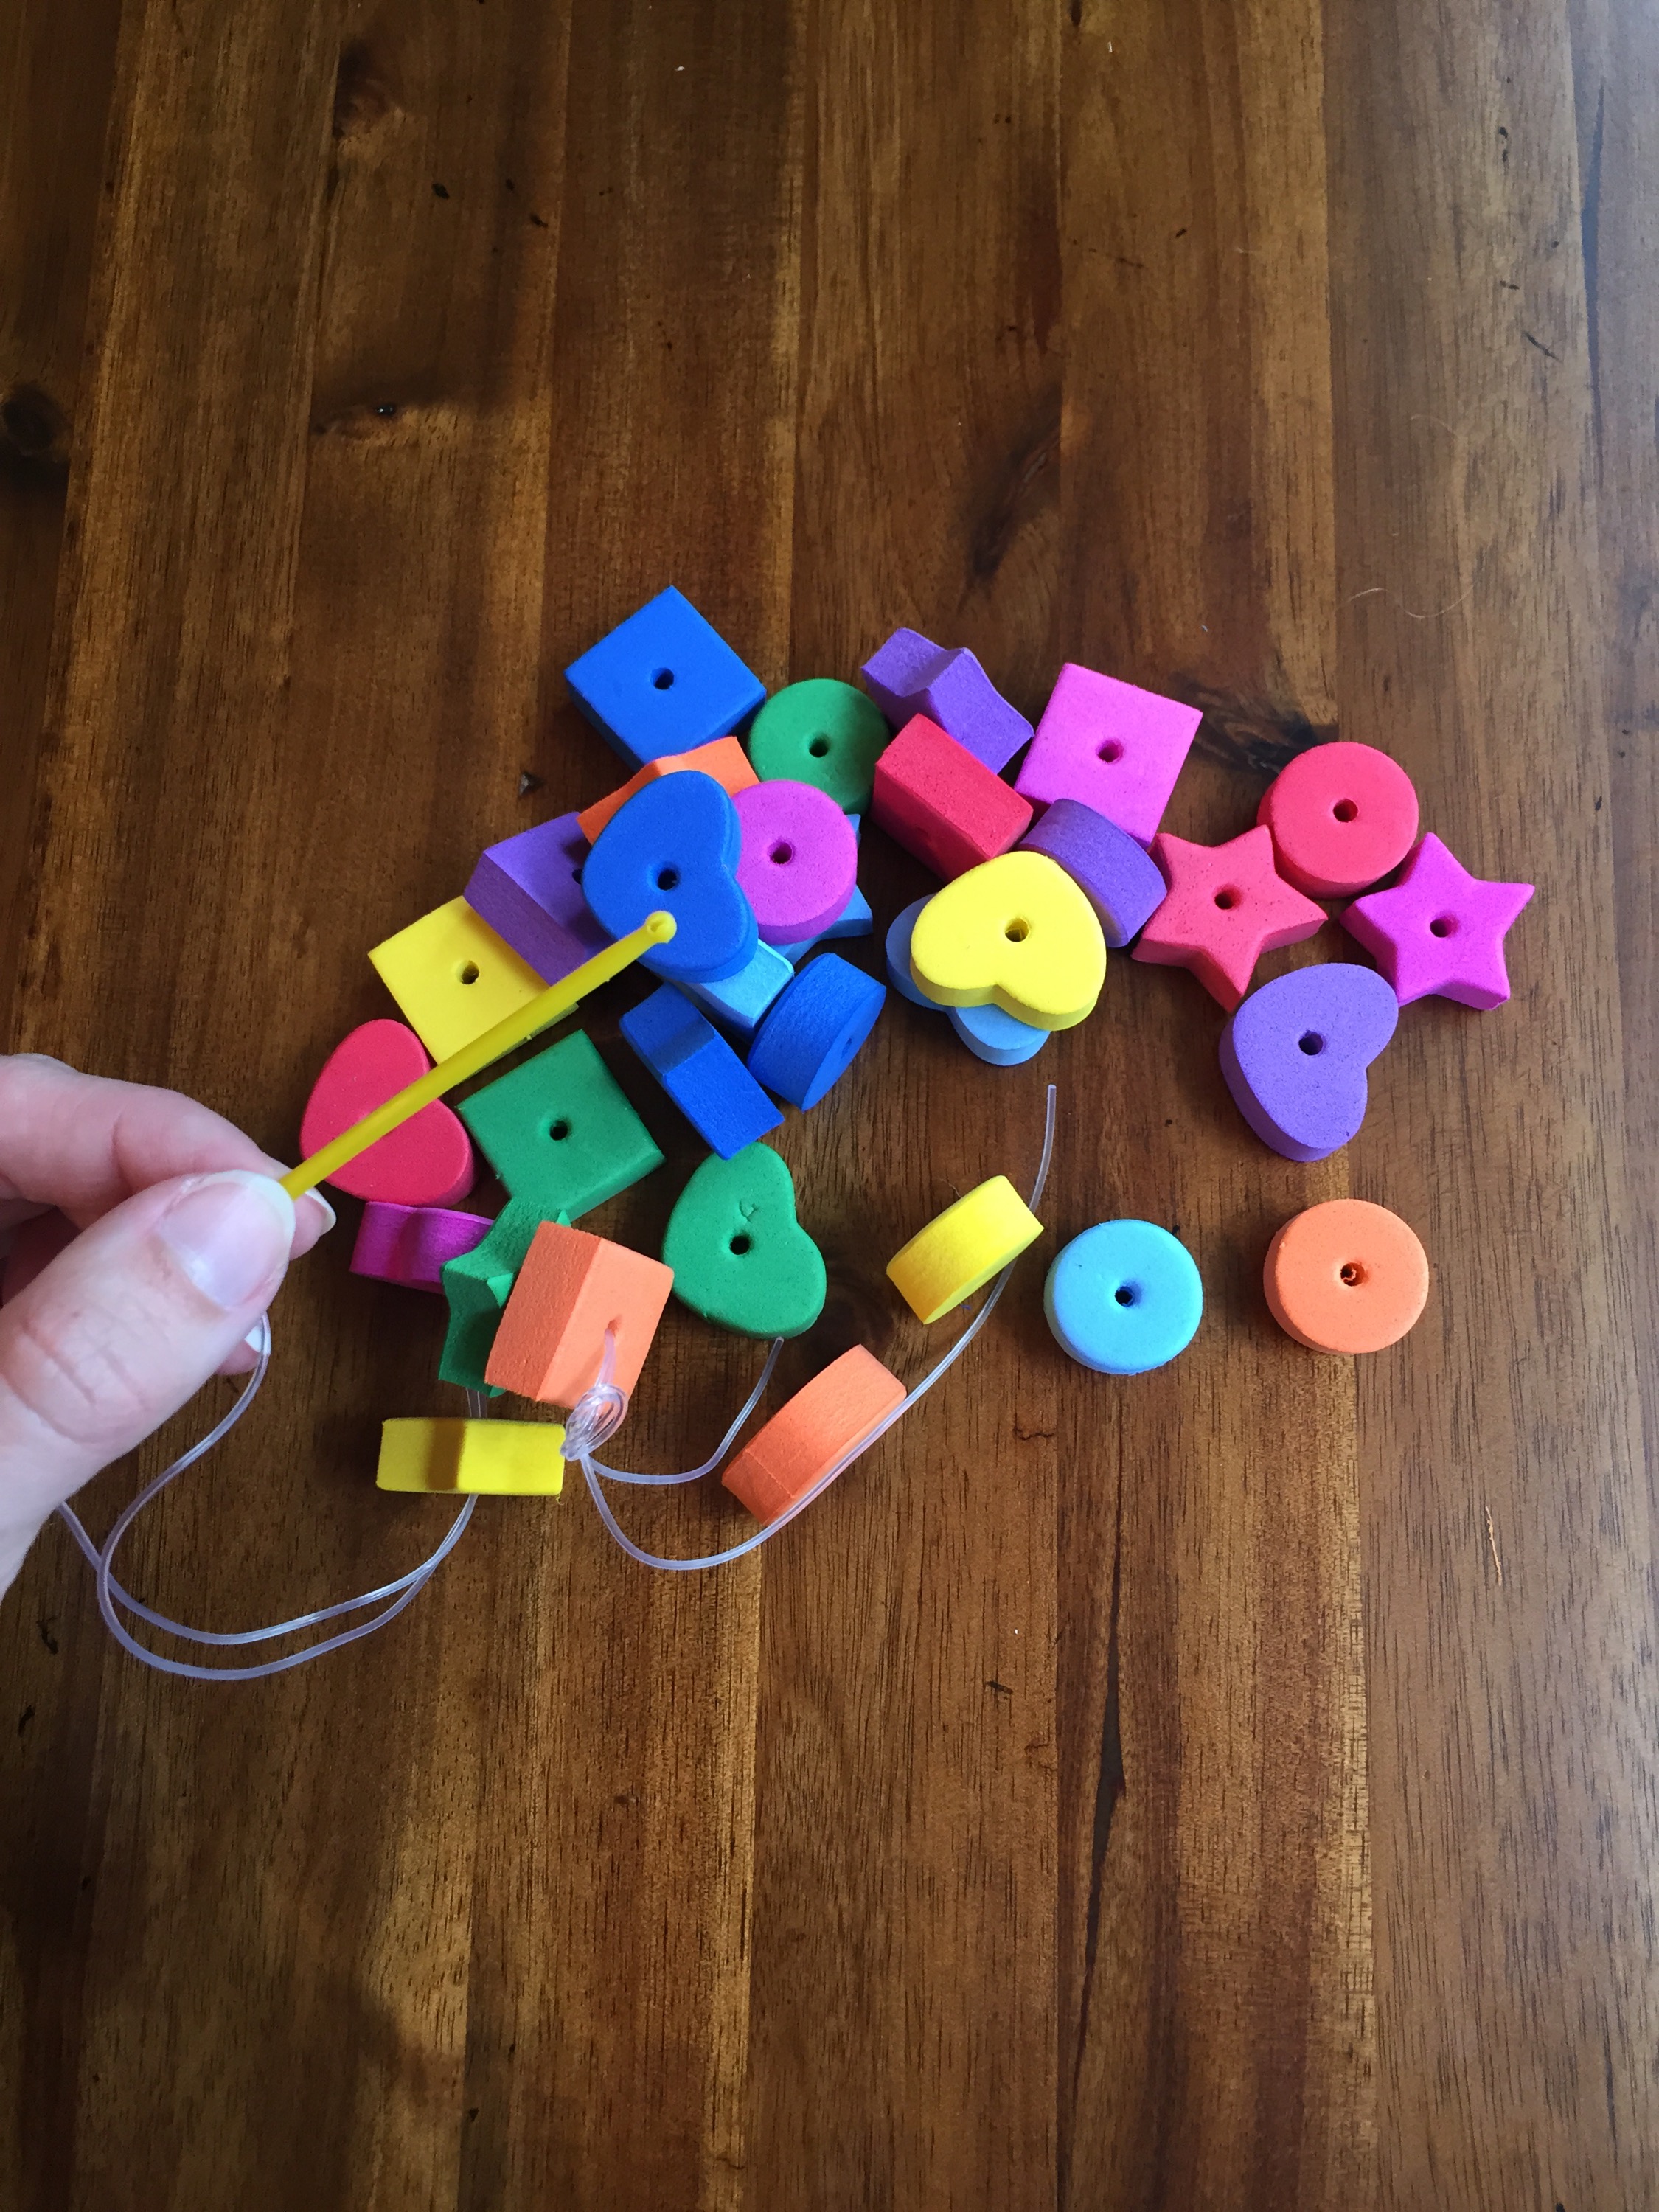
Lacing Foam Beads – these foam beads are great because you can do so much learning with them. In this busy bag, we practice lacing the foam beads which helps with fine motor skills!
These Block Puzzles are for late preschool age. This includes letters, numbers, and shapes. I really feel like we will use it more as a tot tray because of all the pieces. You can also find this printable on True Aim.
These pre-writing cards are from My Little Bookcase and Little Minds at Work. I laminated the cards and included a dry erase marker so that we can use them again and again!

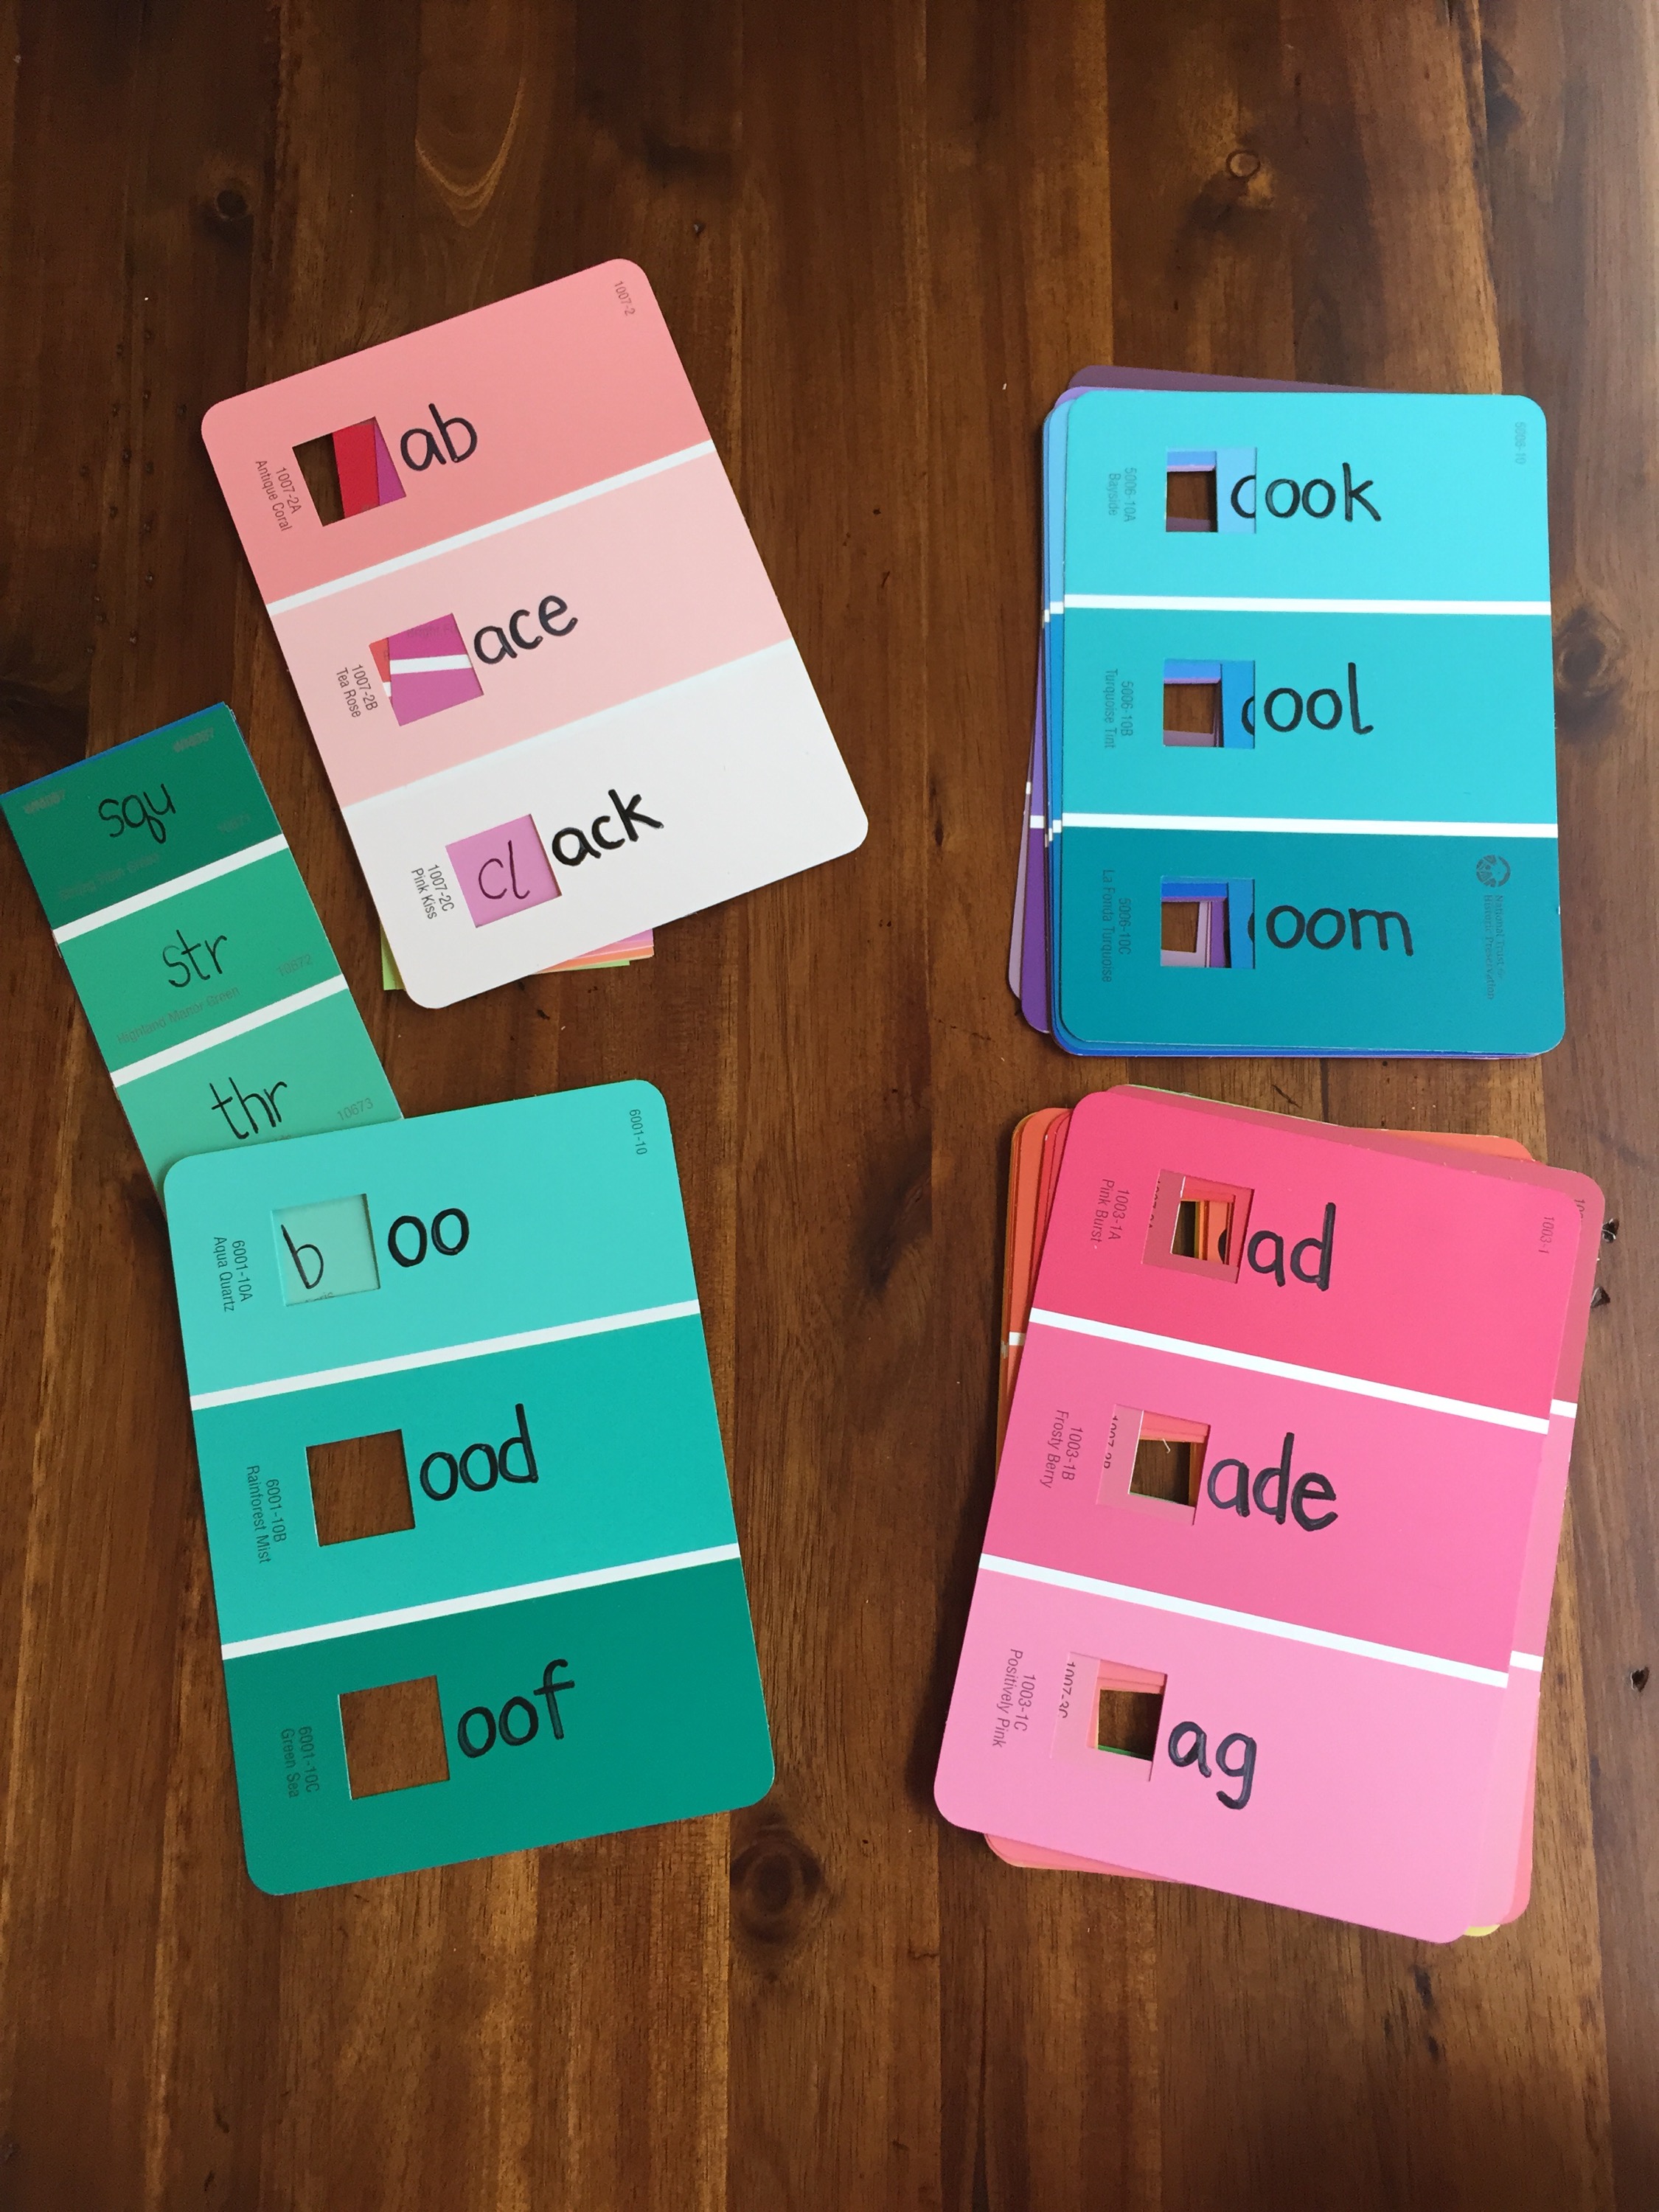
Word Maker has to be one of my favorite (even if it isn’t finished). I wrote the most common word beginnings on paint chip strips and endings on paint chips with punch outs.
From The DIY Mommy, I love these little road maps. Perfect for car trips or waiting in restaurants/doctor’s offices.

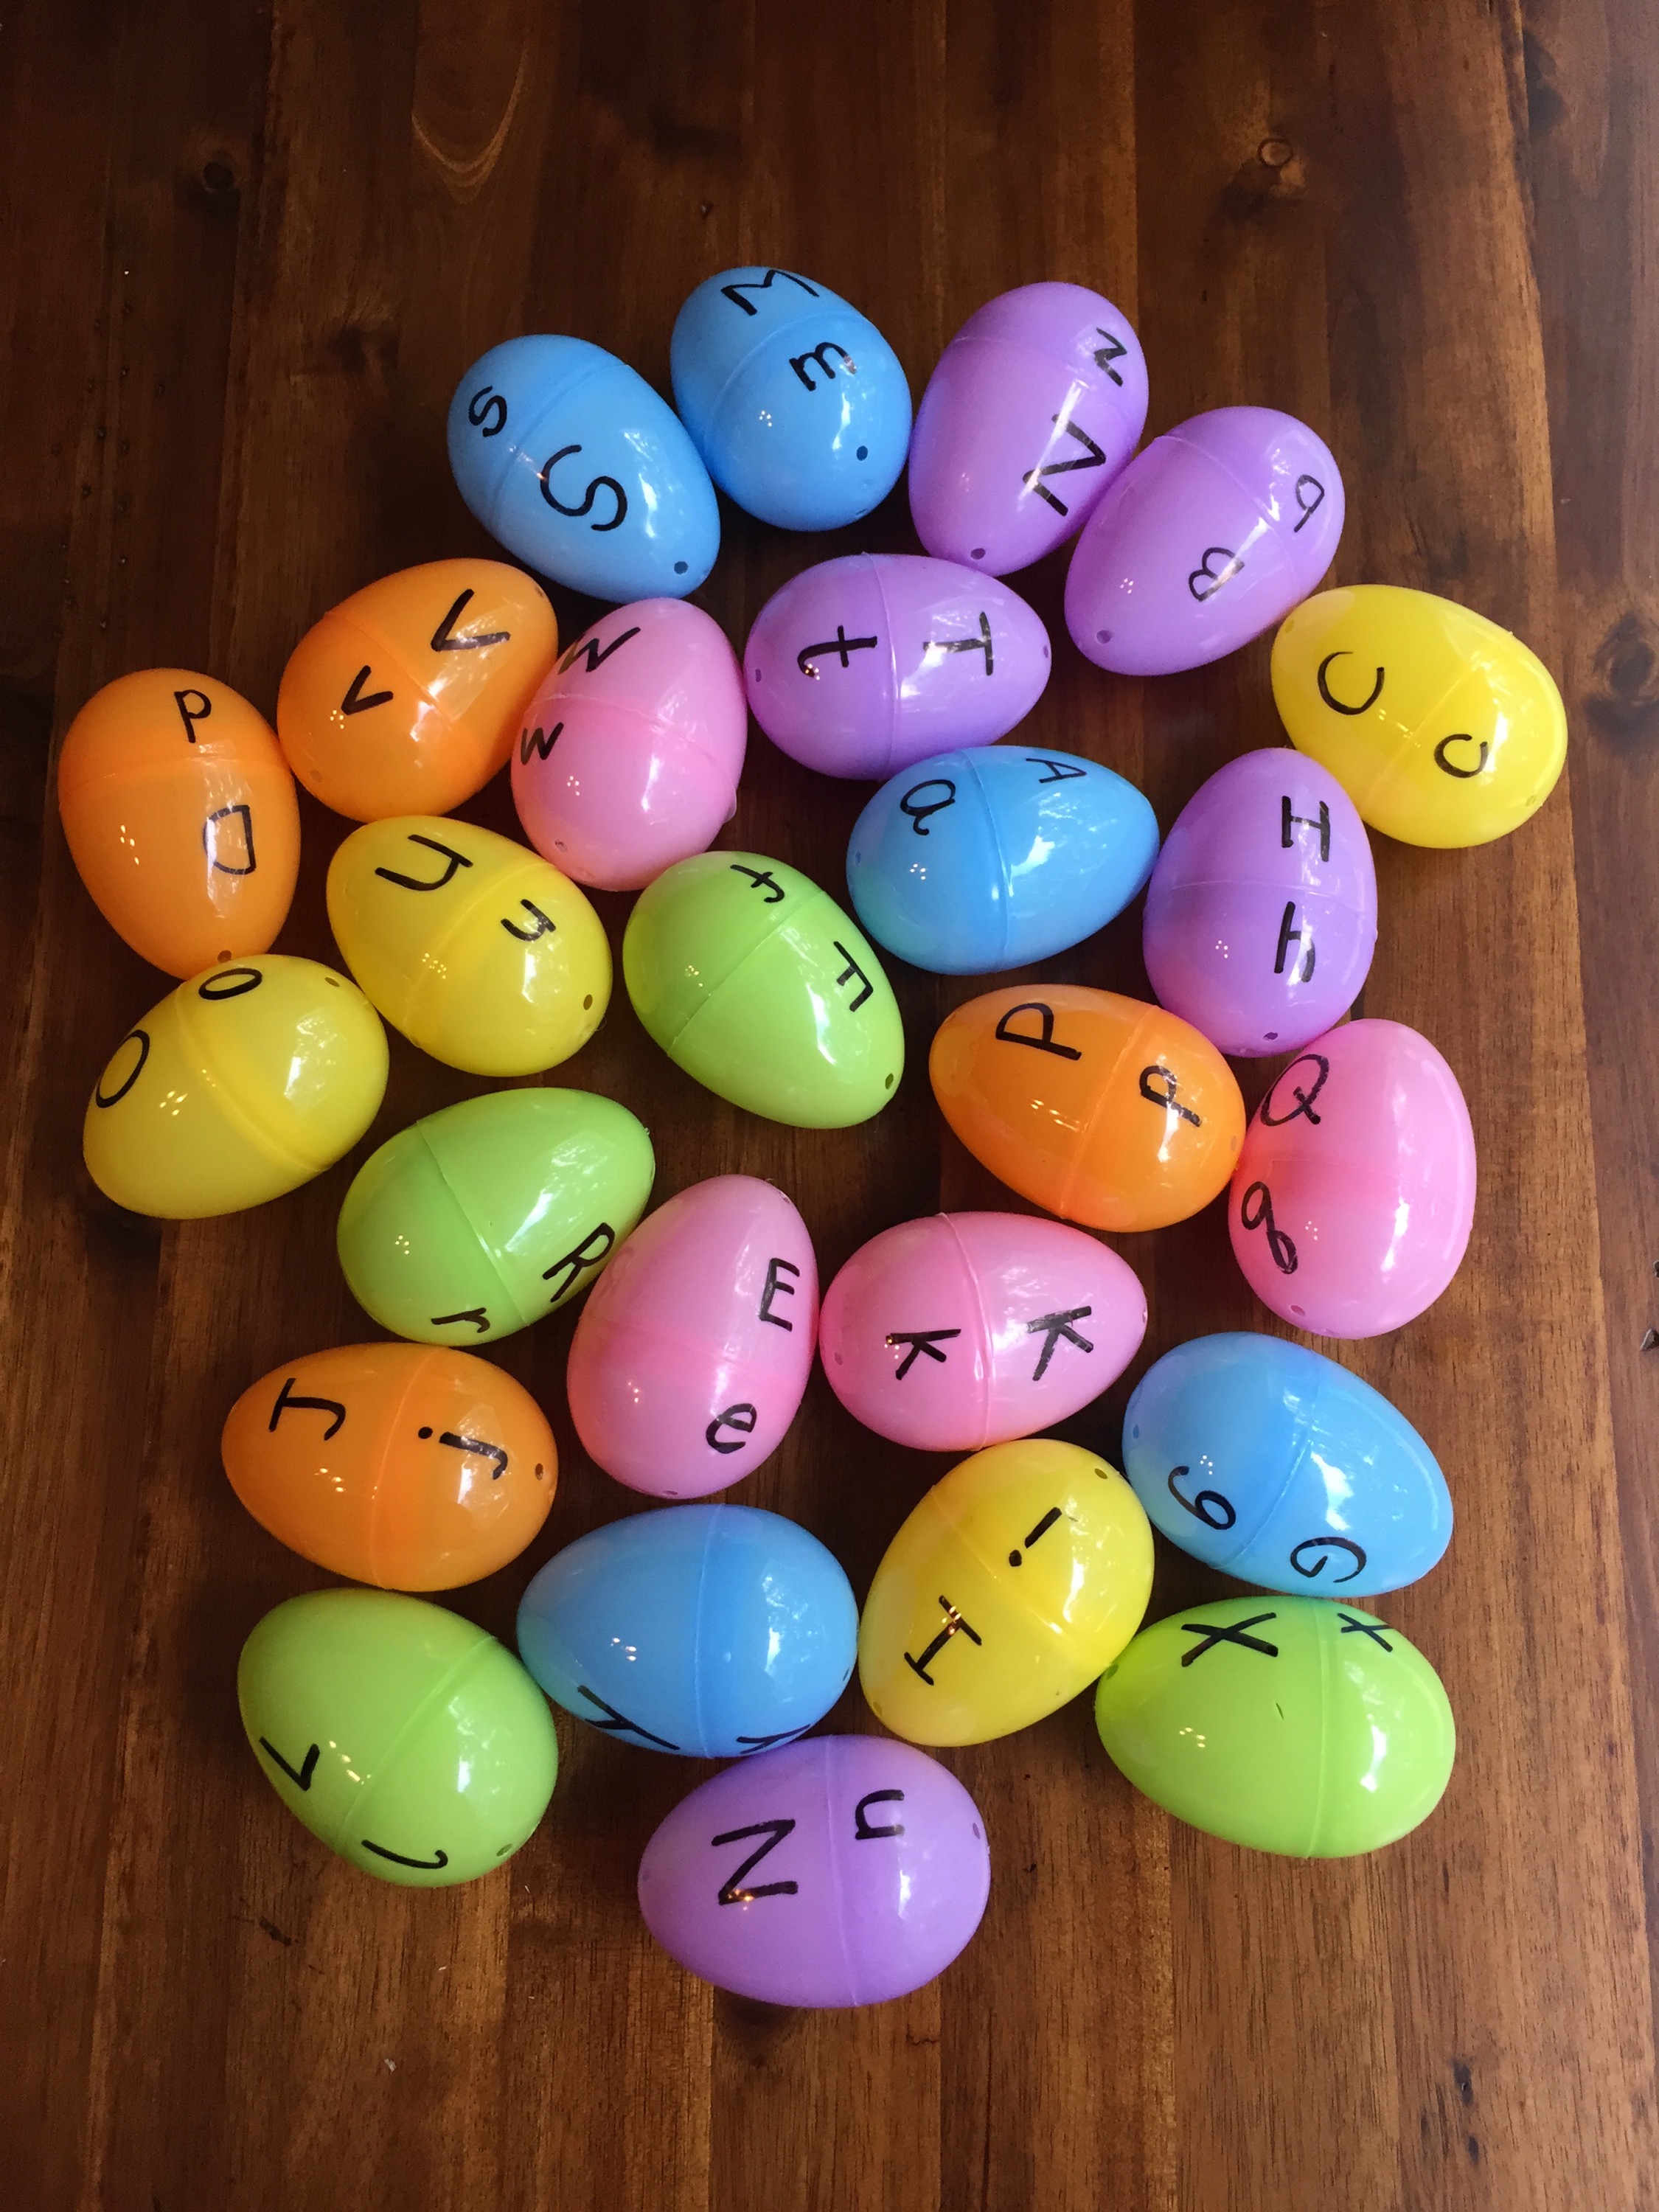
Alphabet Eggs – this is a great busy bag because as your child gets older, you can make adjustments to make it more difficult. For example, instead of having the capital letter and lowercase letter on the same color, switch them up! Also, print off small pictures or words and have them sort them into the eggs!
Tower Stack – I found these plain wooden blocks and this printable from All Our Days. I have found it very useful for teaching Addie her numbers! Hope it helps your 1.5-2 year old!

Pom Pom Stuff It – great for the little ones. Addie still loves this one! Put small and large Poms and cut different size holes in the top of the lid. This teaches size differentiation because the big Poms can’t go into the smaller hole.

Remember the foam beads from the lacing bag? Yup! Same beads went into this bag. I printed a sorting sheet, but haven’t really gotten to introduce this one yet! I’m sure this would be good for any child who keeps things out of their mouth!

From The Connection We Share, this is such a fun bag. I split the more difficult ones from the simpler ones and put them in two different bags with their own Popsicle sticks. 
Matching Puzzles – these printables are from The Connection We Share, Busy Little Bugs, and 1 Plus 1 Plus 1 Equals 1. We love to match right now so I think these are perfect in a busy bag for 2 and up!

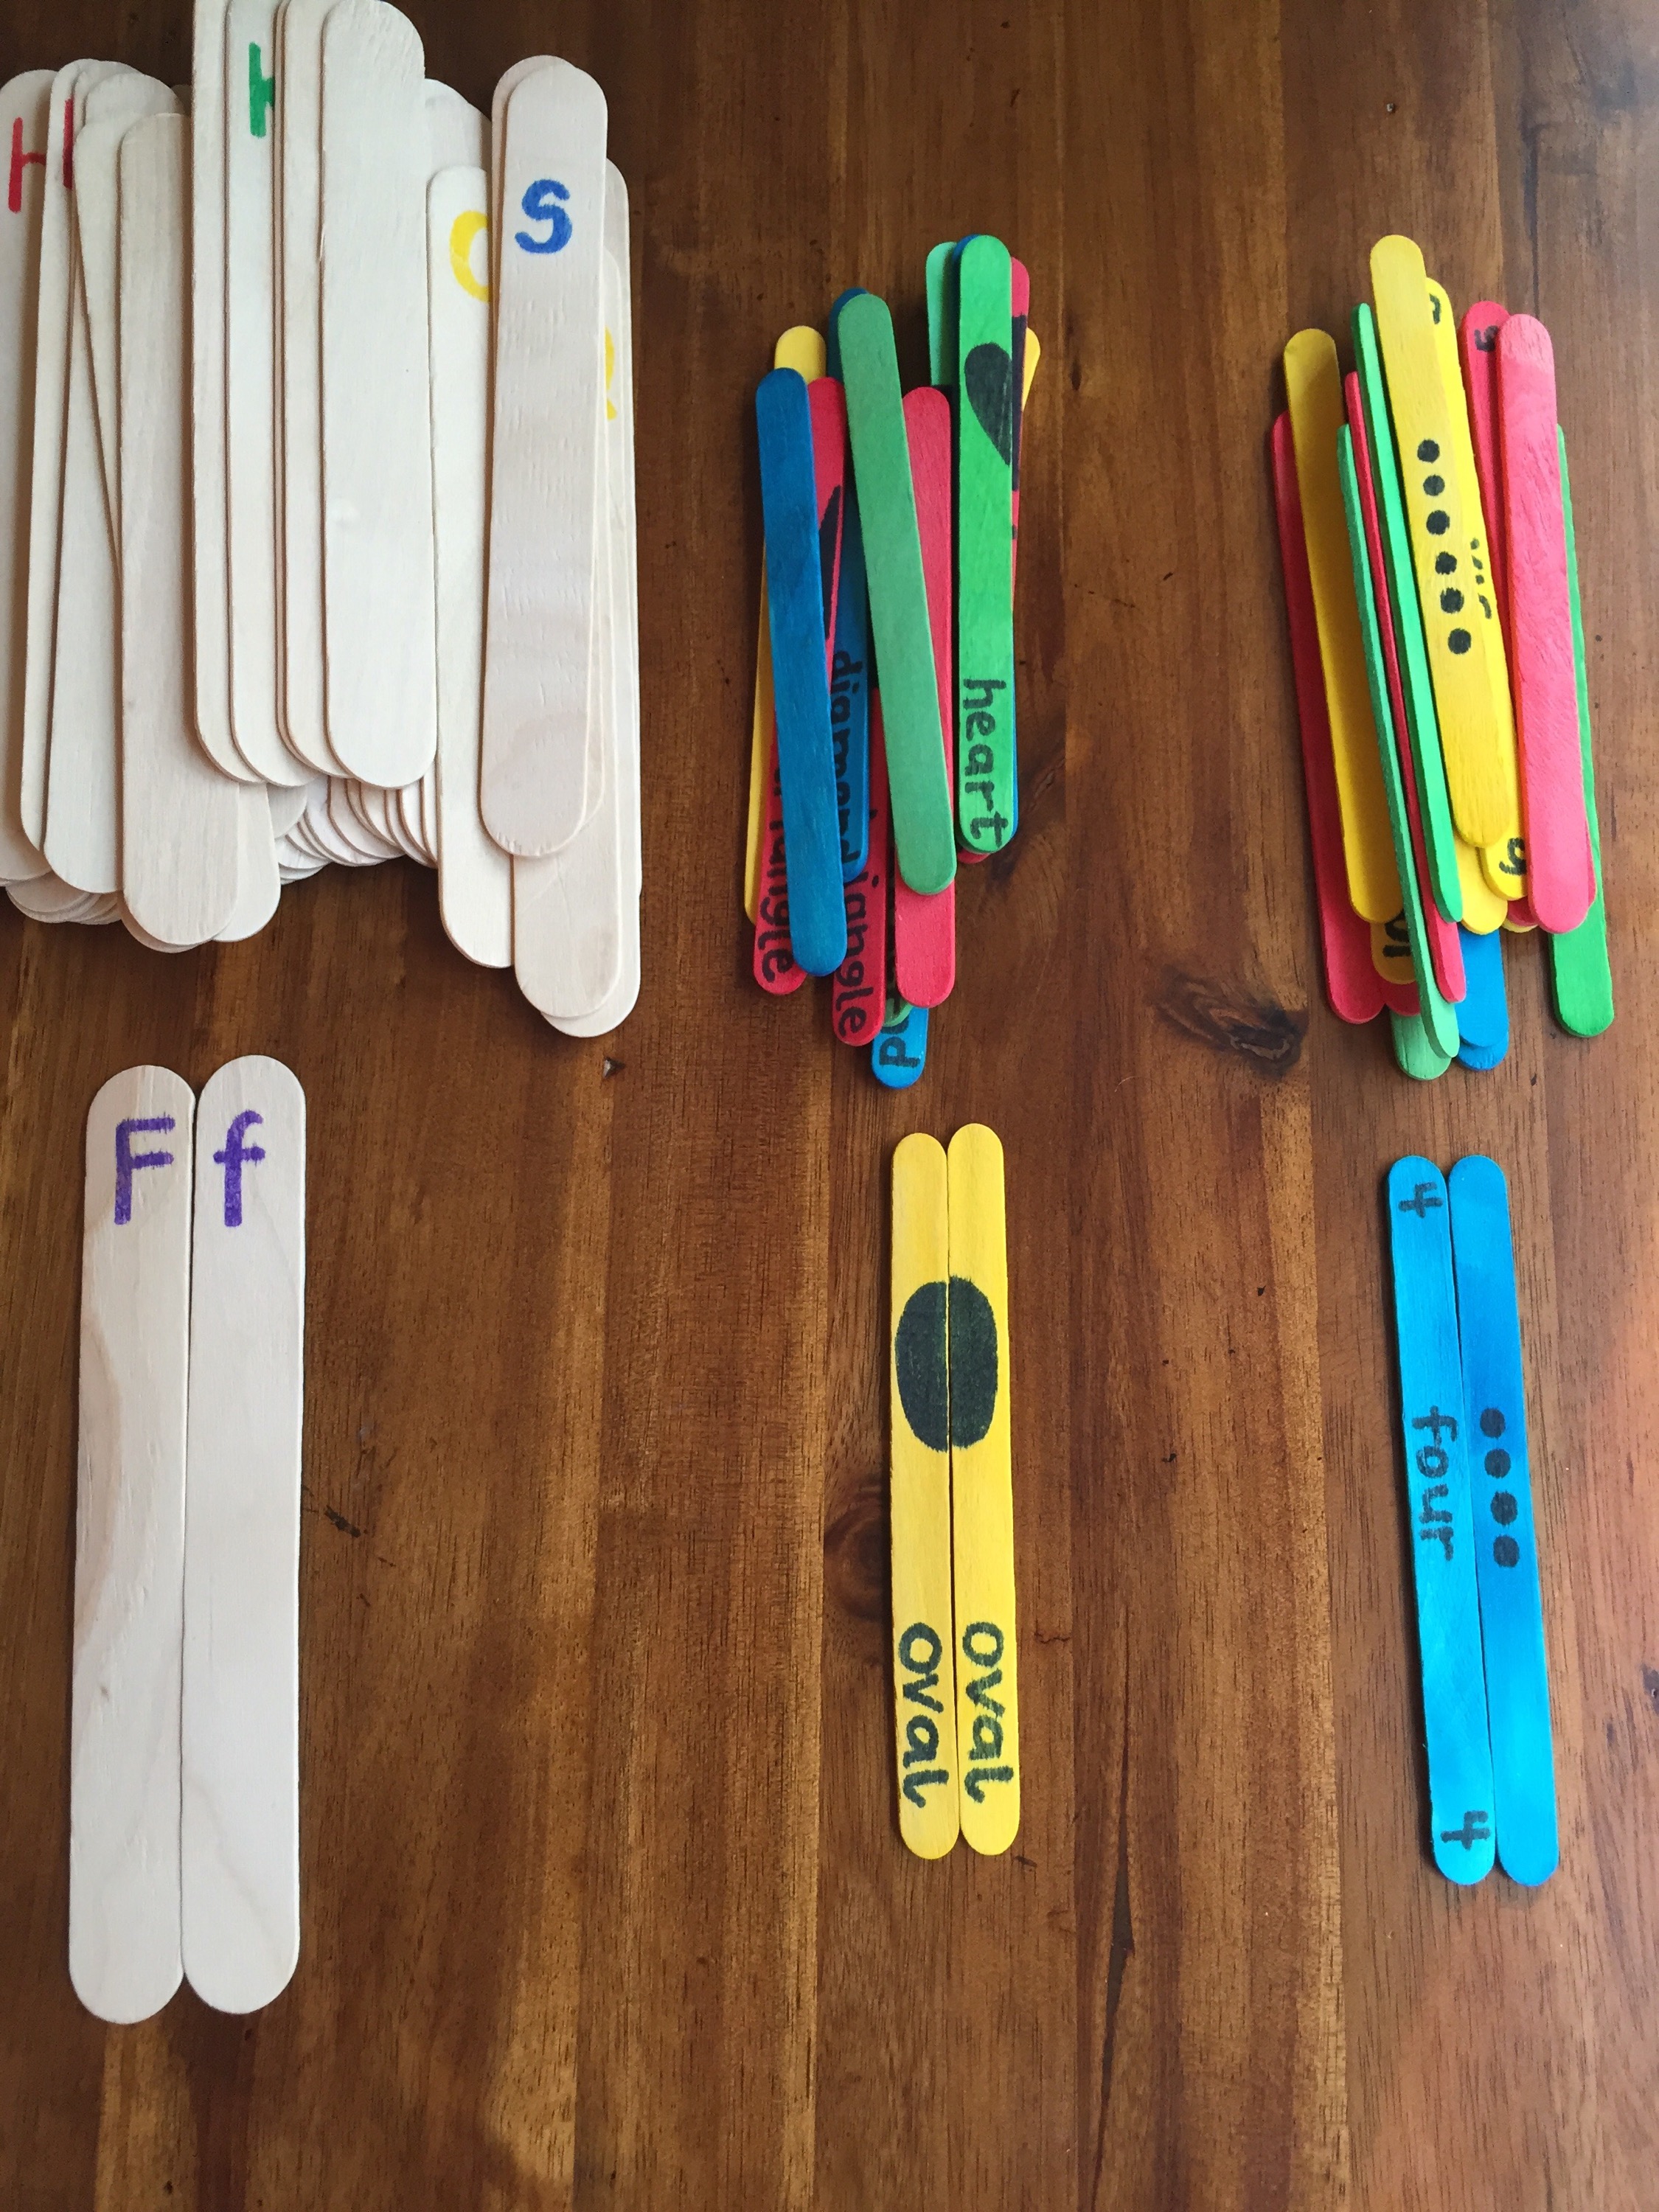
Popsicle puzzles are great because they are cheap and versatile. Here I made simple 2 piece matching puzzles. We have a bag for letters, numbers, and shapes.
Velcro shape sticks are fun for any age and as your child masters the basic shapes, you can request the more complex shapes! This particular printable comes from Tried and True, but there are tons of variations out there so find one that works for you!

Paper clip sorting has been a favorite of Addie’s for over a year. Of course, I still monitor her on this one since the pieces are small. Grab some magnetic strips and adhere them to Popsicle sticks, throw in some paper clips and let your child sort away!

The foam beads that were used in lacing and size sorting are used here in color sorting and shape sorting. I love the versatility of this one product, and which should show you that you can totally do this even without a swap!


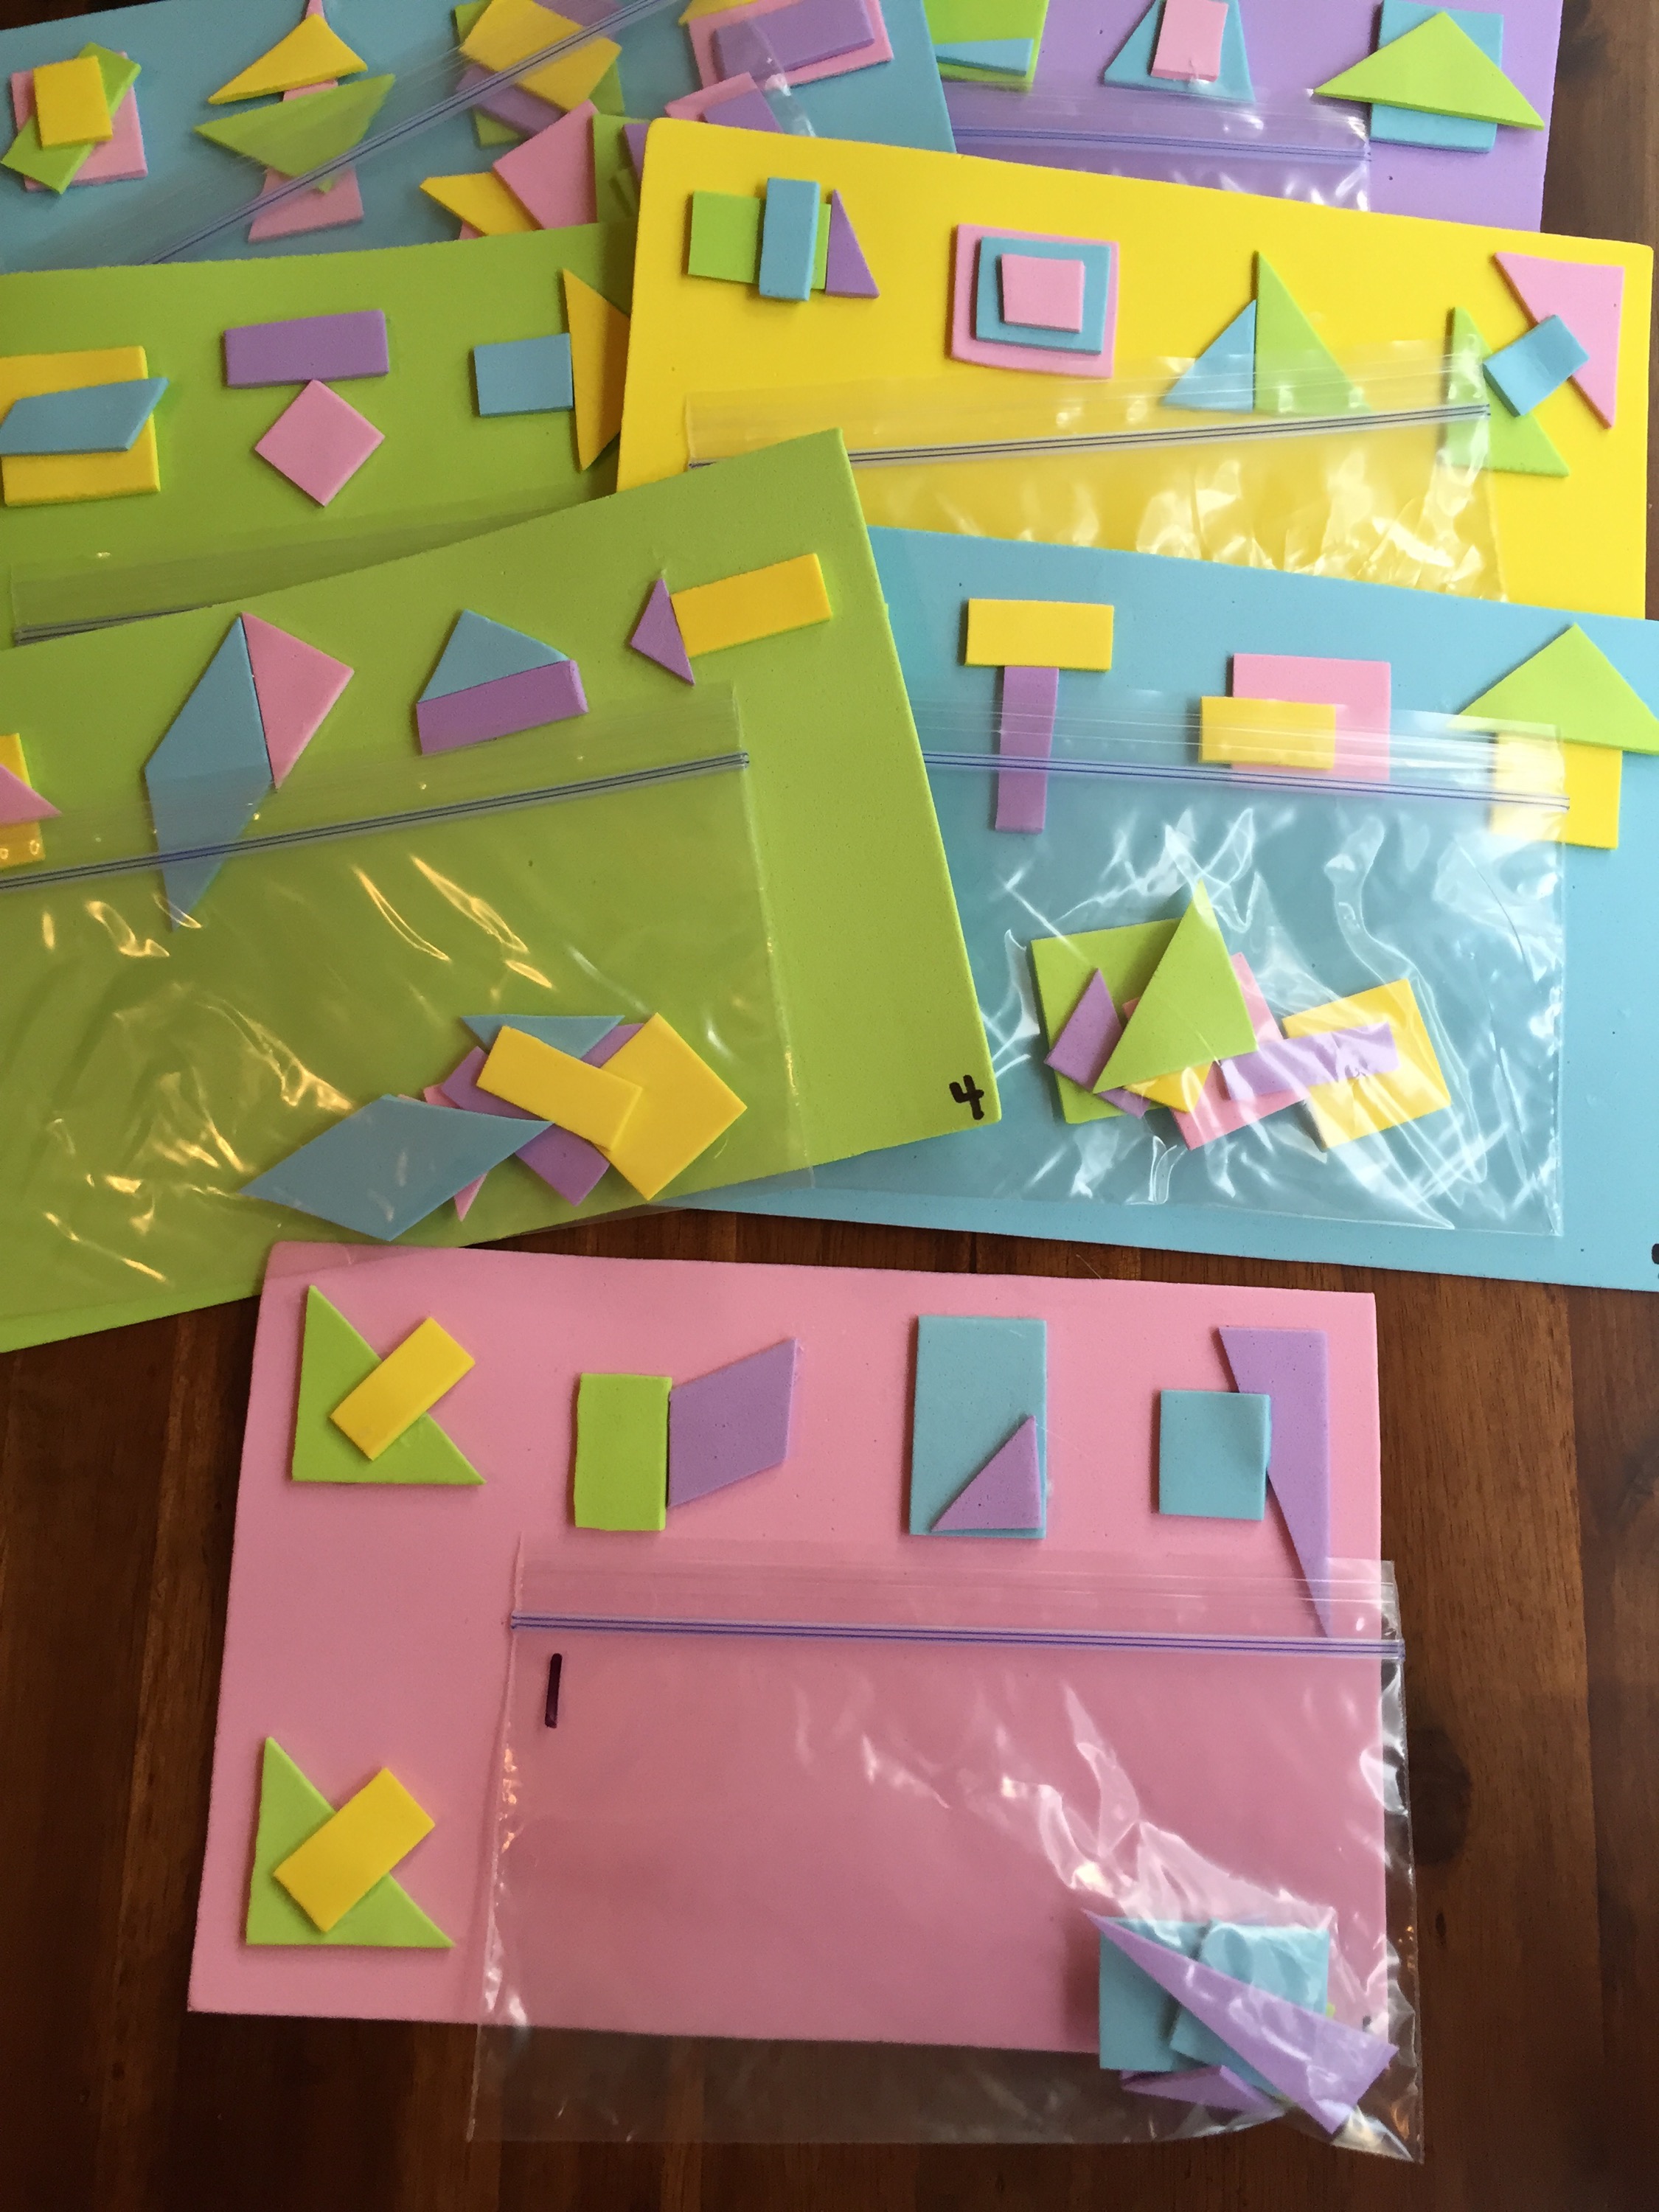
These foam shape puzzles were a lot of work. I definitely recommend investing in pre-cut foam pieces. Age recommended: 3+
Dr. Seuss is a favorite in our house. I love this little game inspired by one of our favorite books from Mama Miss.

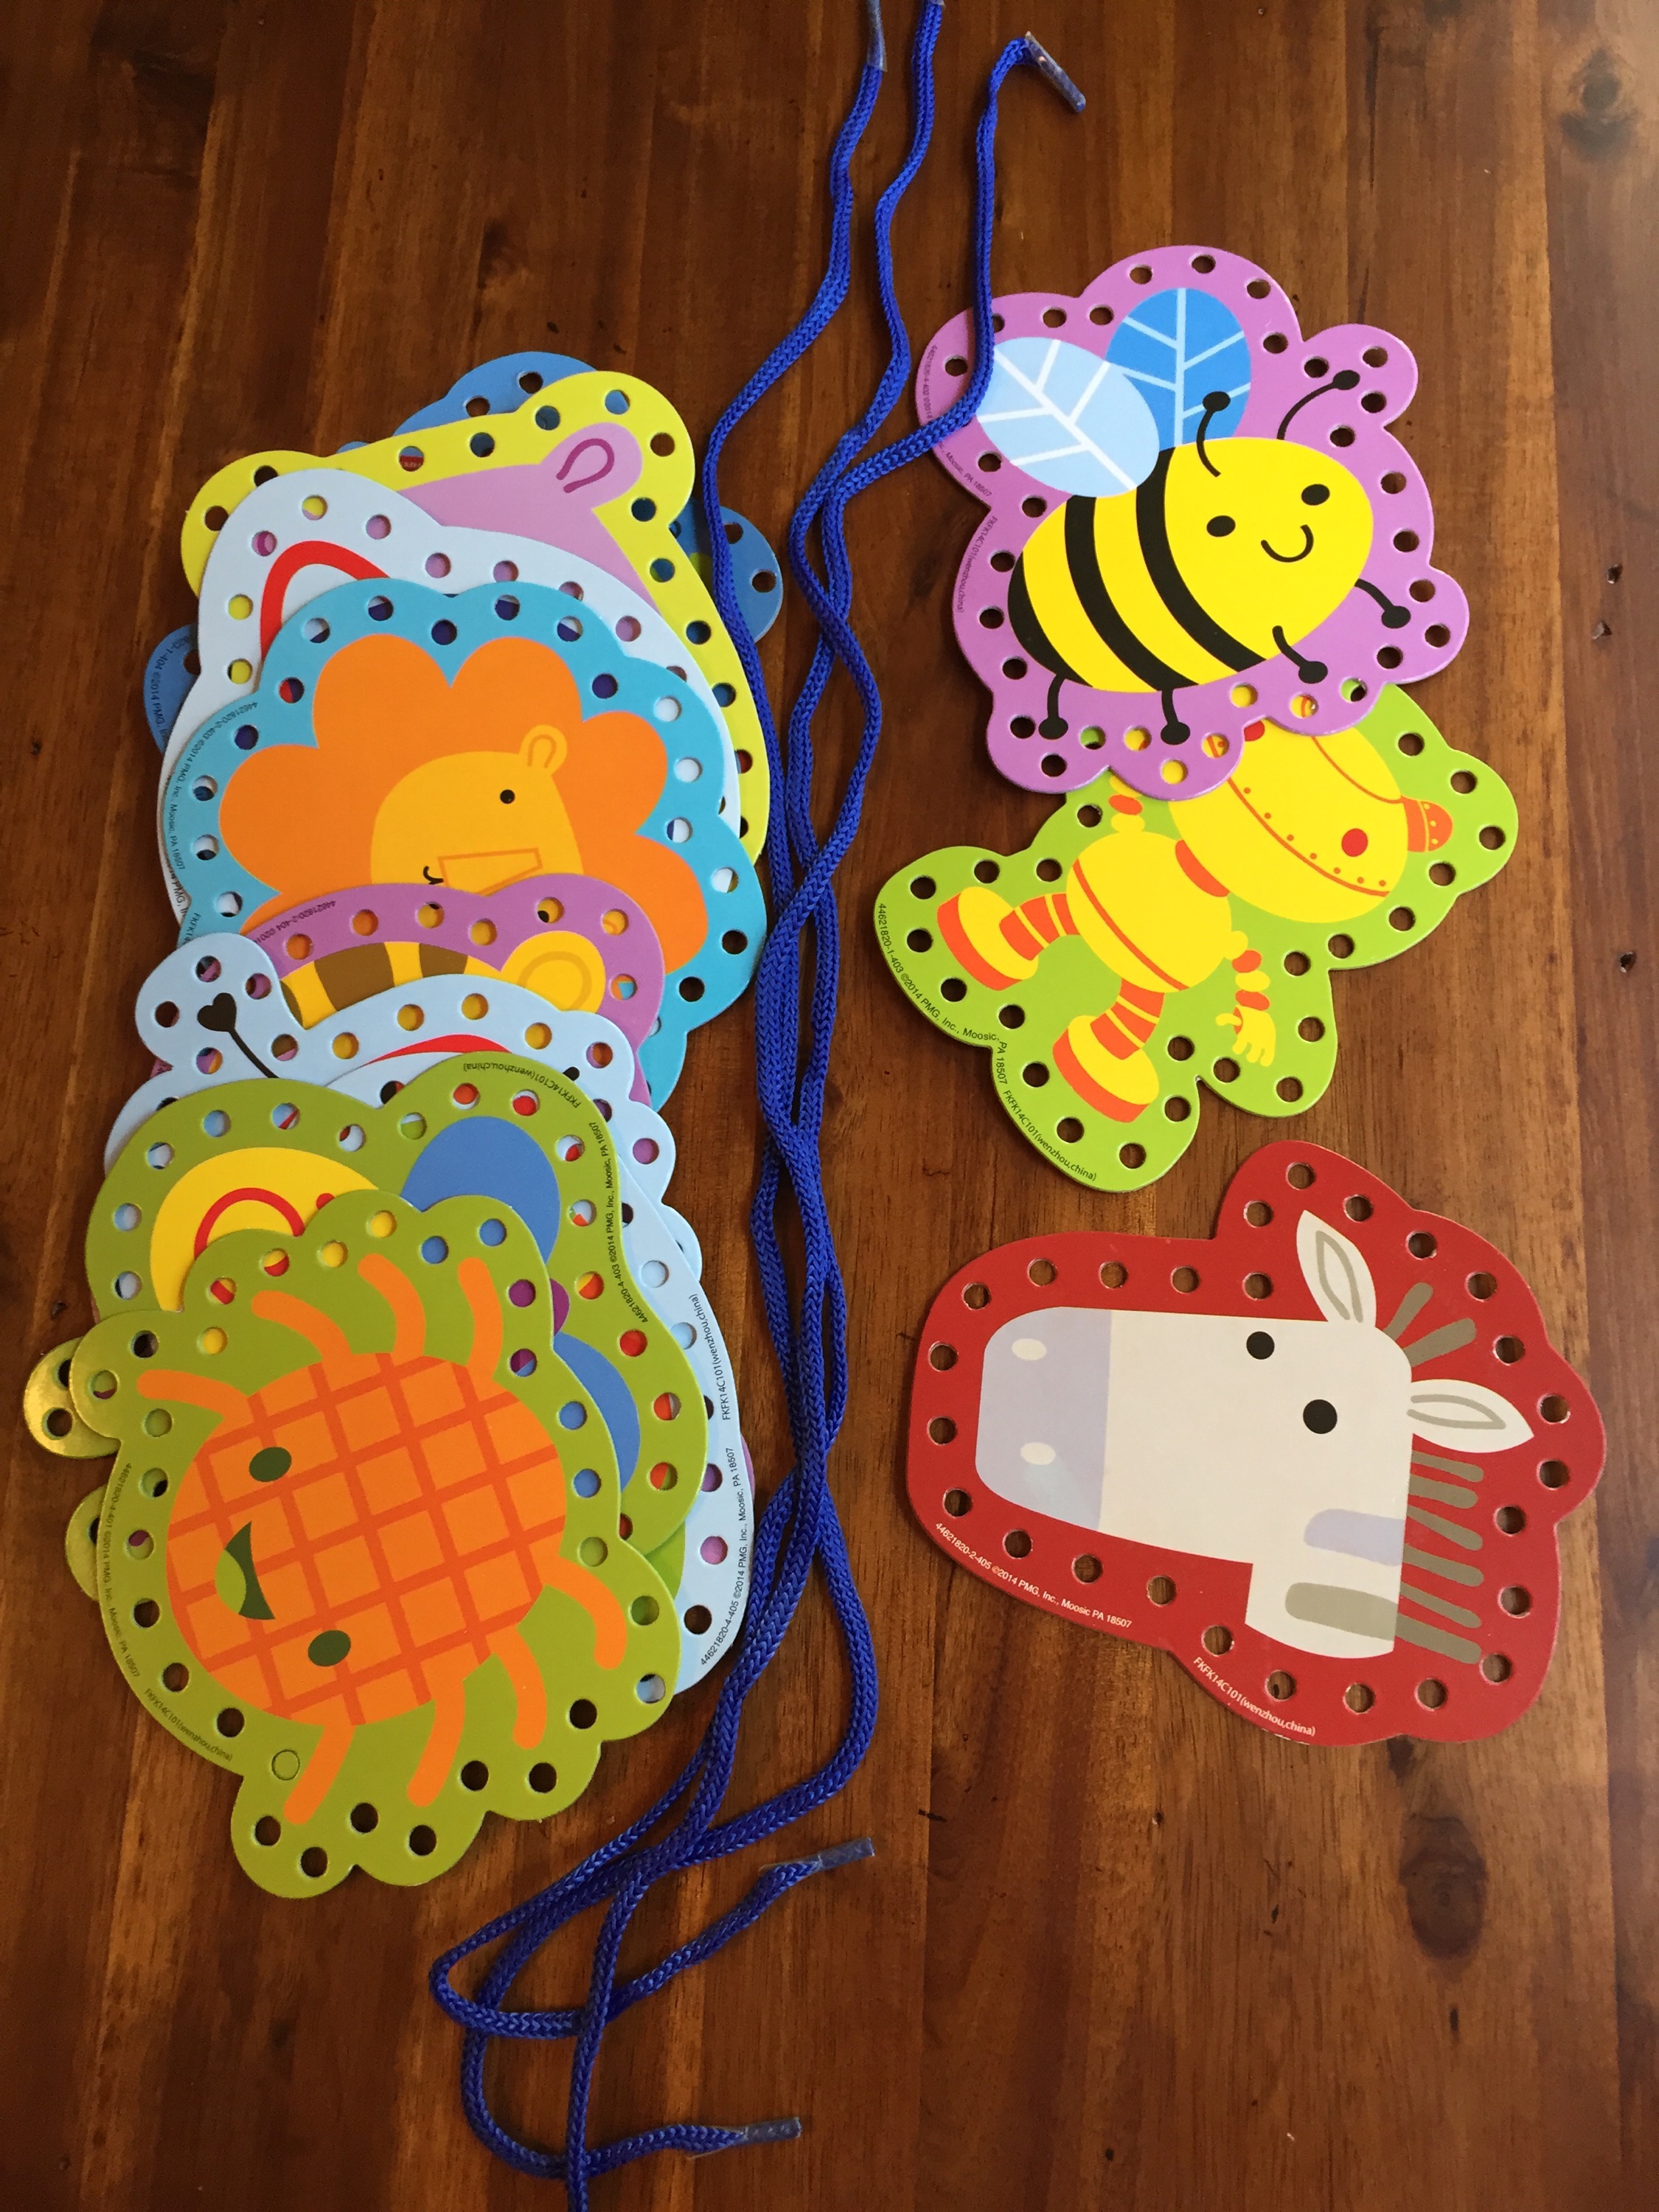
Lacing Cards – a word of advice: don’t put this many in one bag, but definitely have some to rotate. Lacing cards are perfect for honing in on those fine motor skills at 2+.
Mix and Match Animal Puzzles are for children 2.5+. I laminated ours for durability. They are from Itsy Bitsy Fun.

These Alphabet play cards are a free printable from Mr. Printables. I definitely encourage you to look around the site for a while!

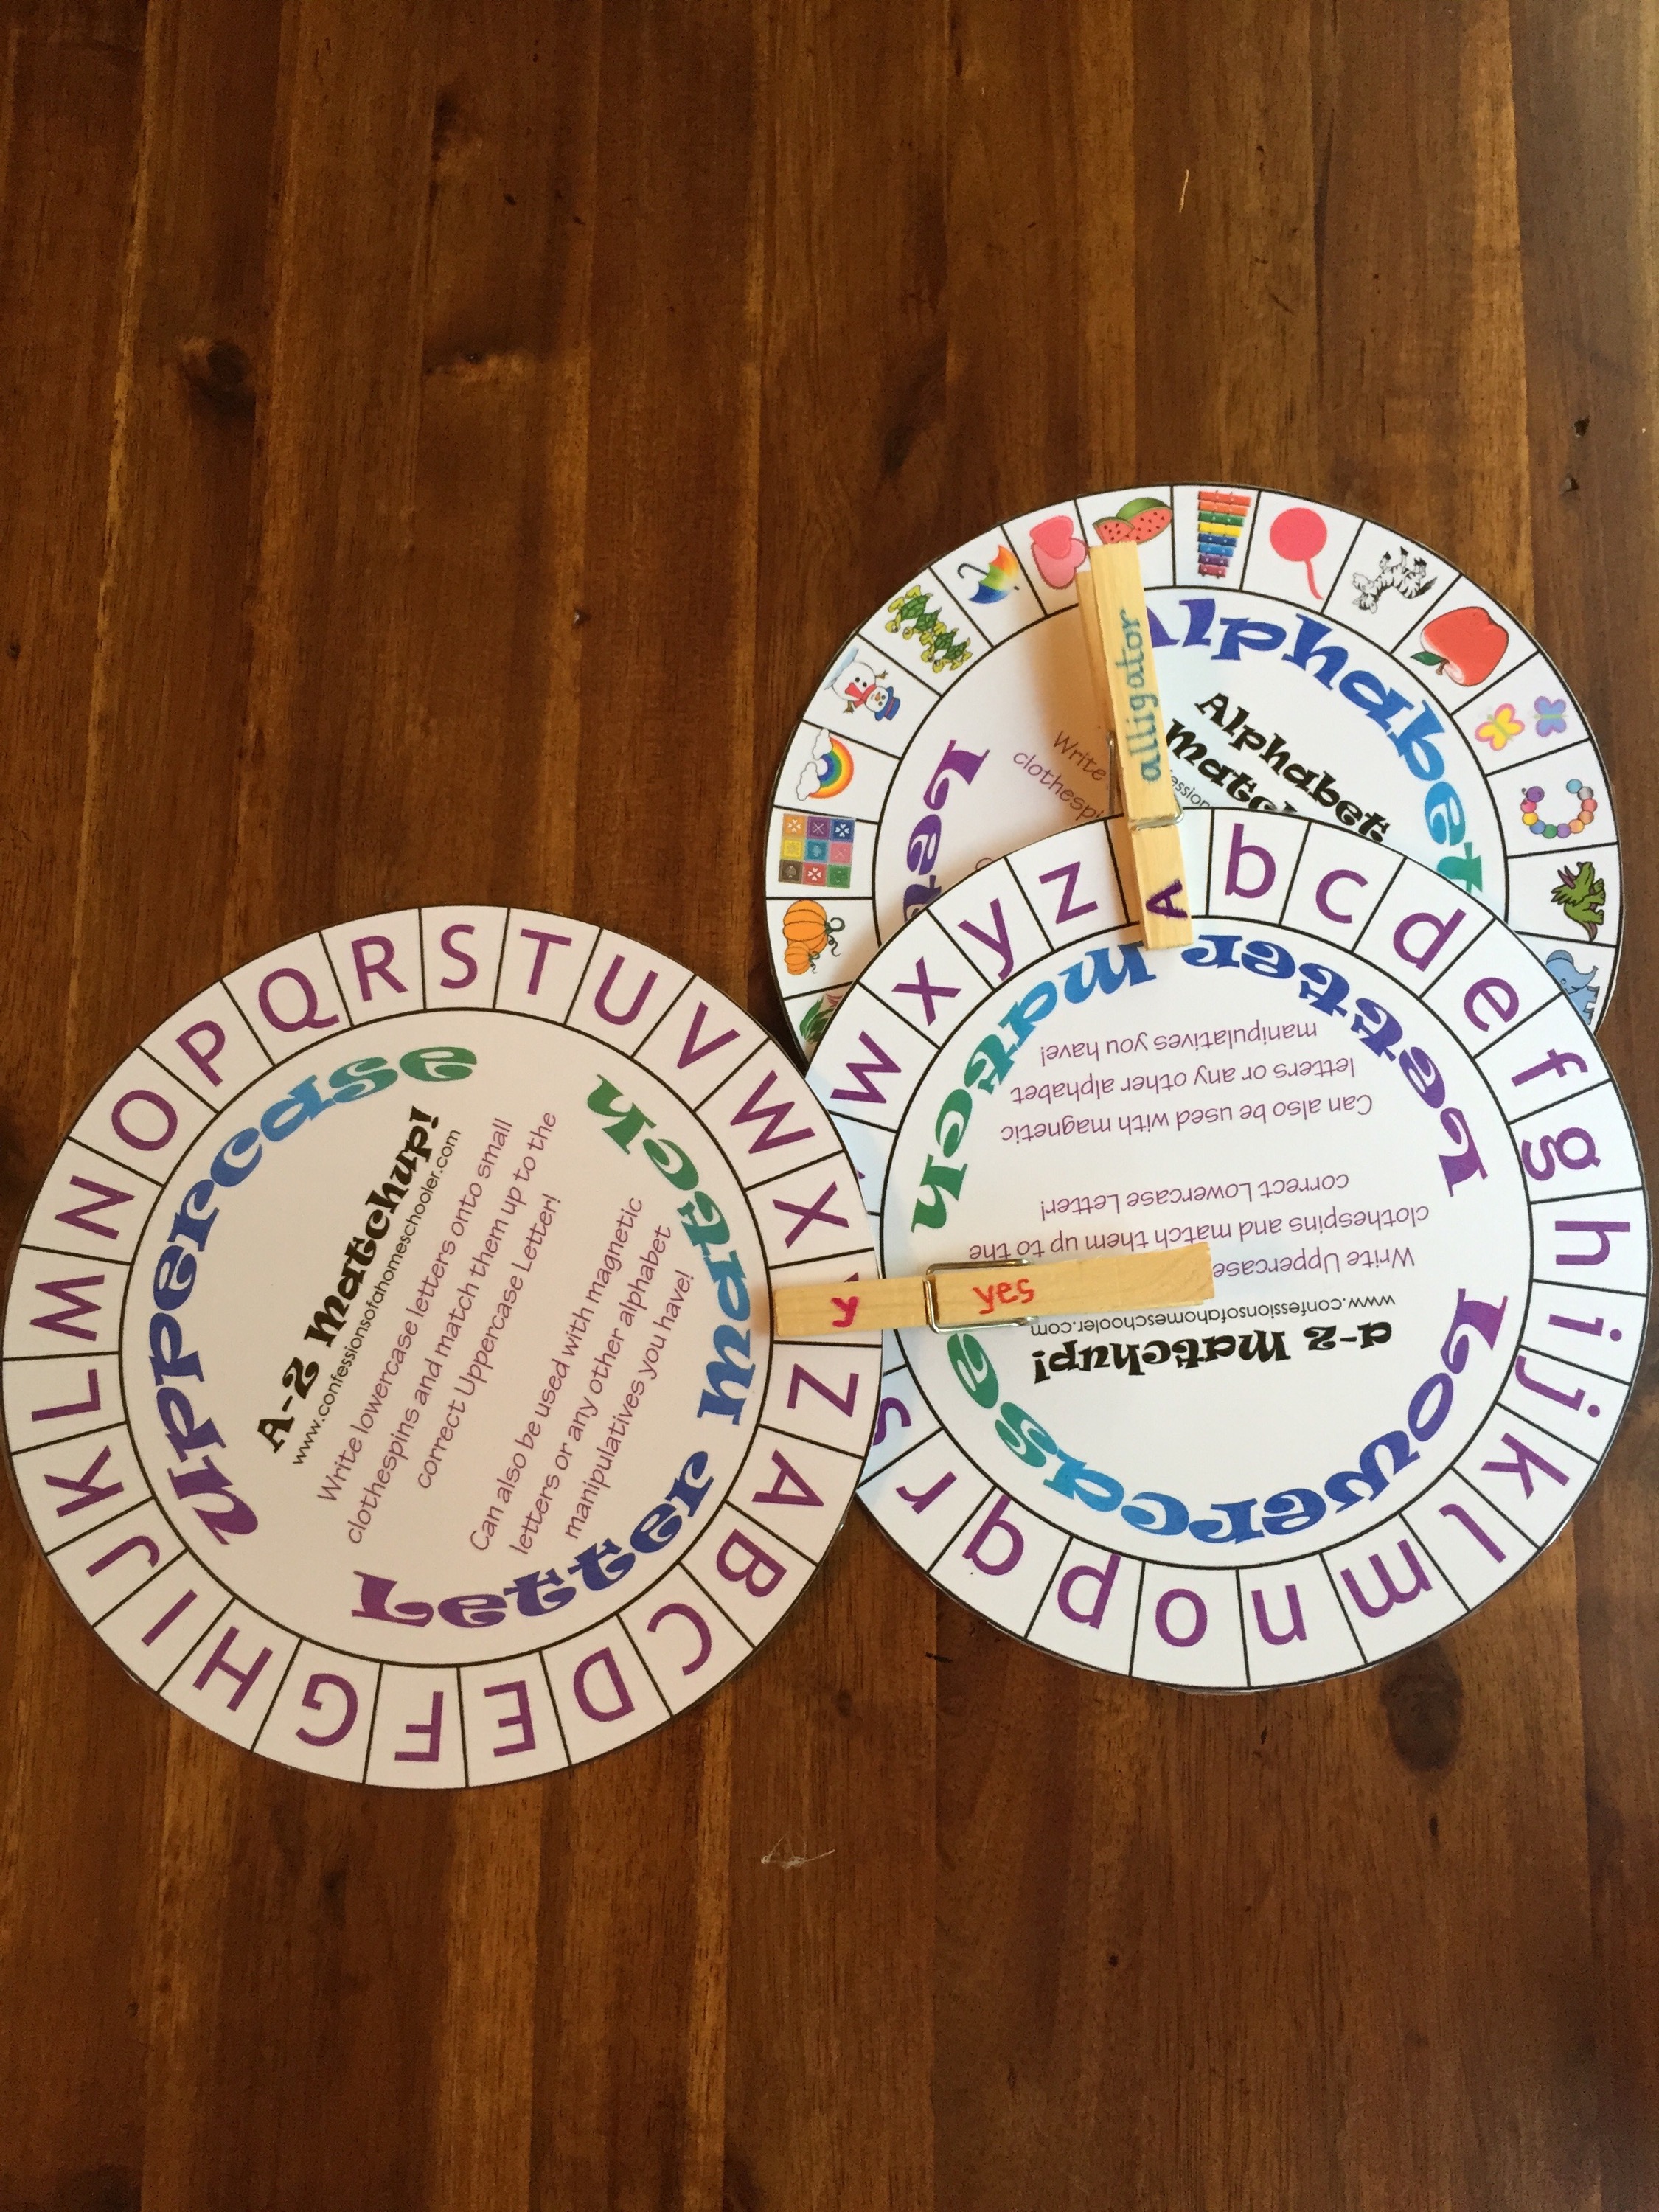
These clothespin games come from Confessions of a Homeschooler. We haven’t used them yet, but I can’t wait to try them out! Great for those pincer skills and learning letters/numbers!
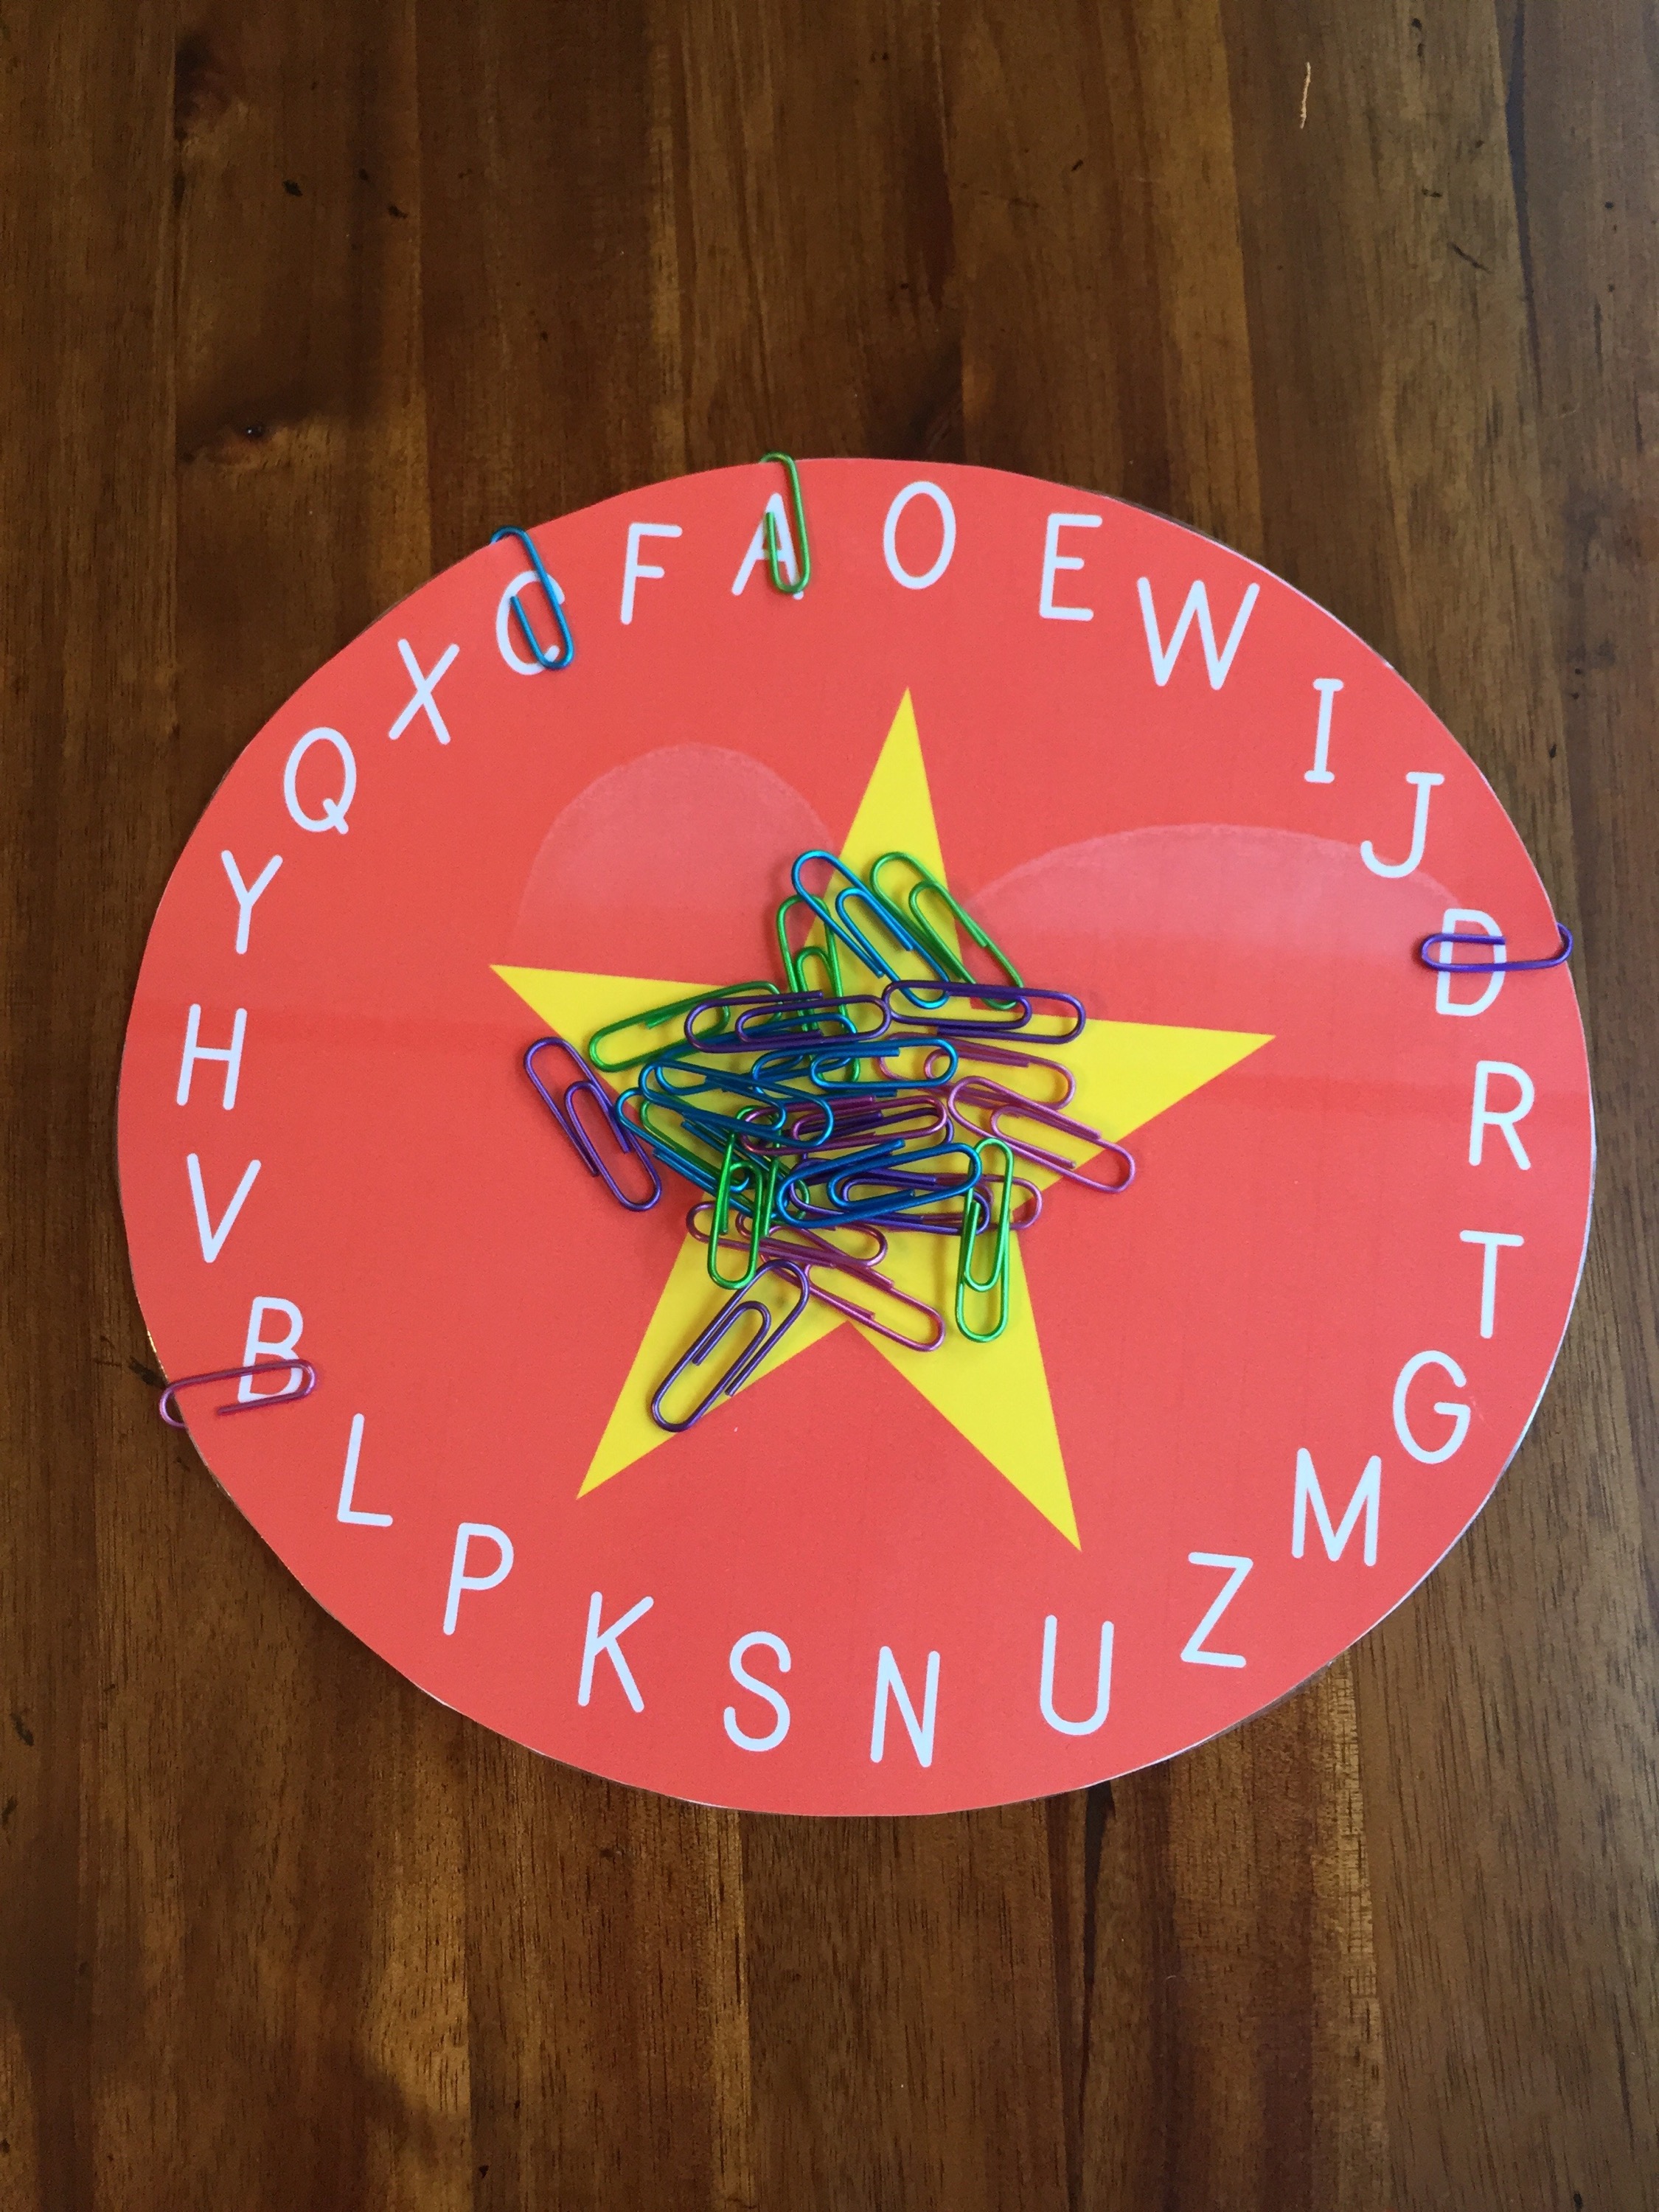
This alphabet game is so versatile because as children are learning the alphabet, they can put the paper clips on the circle in order. However, as this will get easy quickly, try challenging them to go through the alphabet backwards, find the letters on a car trip, or find things that start with each letter! I cannot find where I got this anywhere so if you know, please let me know so that I can give others the link!
Wrapping up this post, here is a simple texture tube. Find some odds and ends (you should have plenty if you craft frequently) and throw them in a tube! ENDLESS entertainment.

More busy bag fun to come! For those of you who want ideas on what to buy (not make) for busy bags: stay tuned because I have a ton of super easy, affordable options for those of you who want to buy something that’s ready to go in a busy bag! Within the next week, I will share what we get in our busy bag swap, along with our contribution to the swap! (Also, local friends, be on the lookout for a busy bag swap hosted by me!)
Xo, Nikki